
Are your kitchen cabinets stuffed with a bunch of…well, stuff? Pots, mugs, cookie sheets, that bundt pan you used once a few Christmases ago.
You open a cabinet and are met with an avalanche of Tupperware lids with no containers, glasses, and seasoning jars that aren’t even supposed to BE in that cabinet.
The best way to organize kitchen cabinets is to declutter them first. Let’s go through it step by step to make the process easy breezy. Here’s a simple guide to help you tackle any kitchen cabinet.
How To Declutter Your Kitchen Cabinets
1. Prepare your workspace
You’ll want some counter free for this project, so take some time to clear the area around your cabinets. It can be boxes on the floor, if it needs to be.
This will give you space to sort items, and beginning with a clean kitchen will help alleviate the overwhelm of a decluttering project.
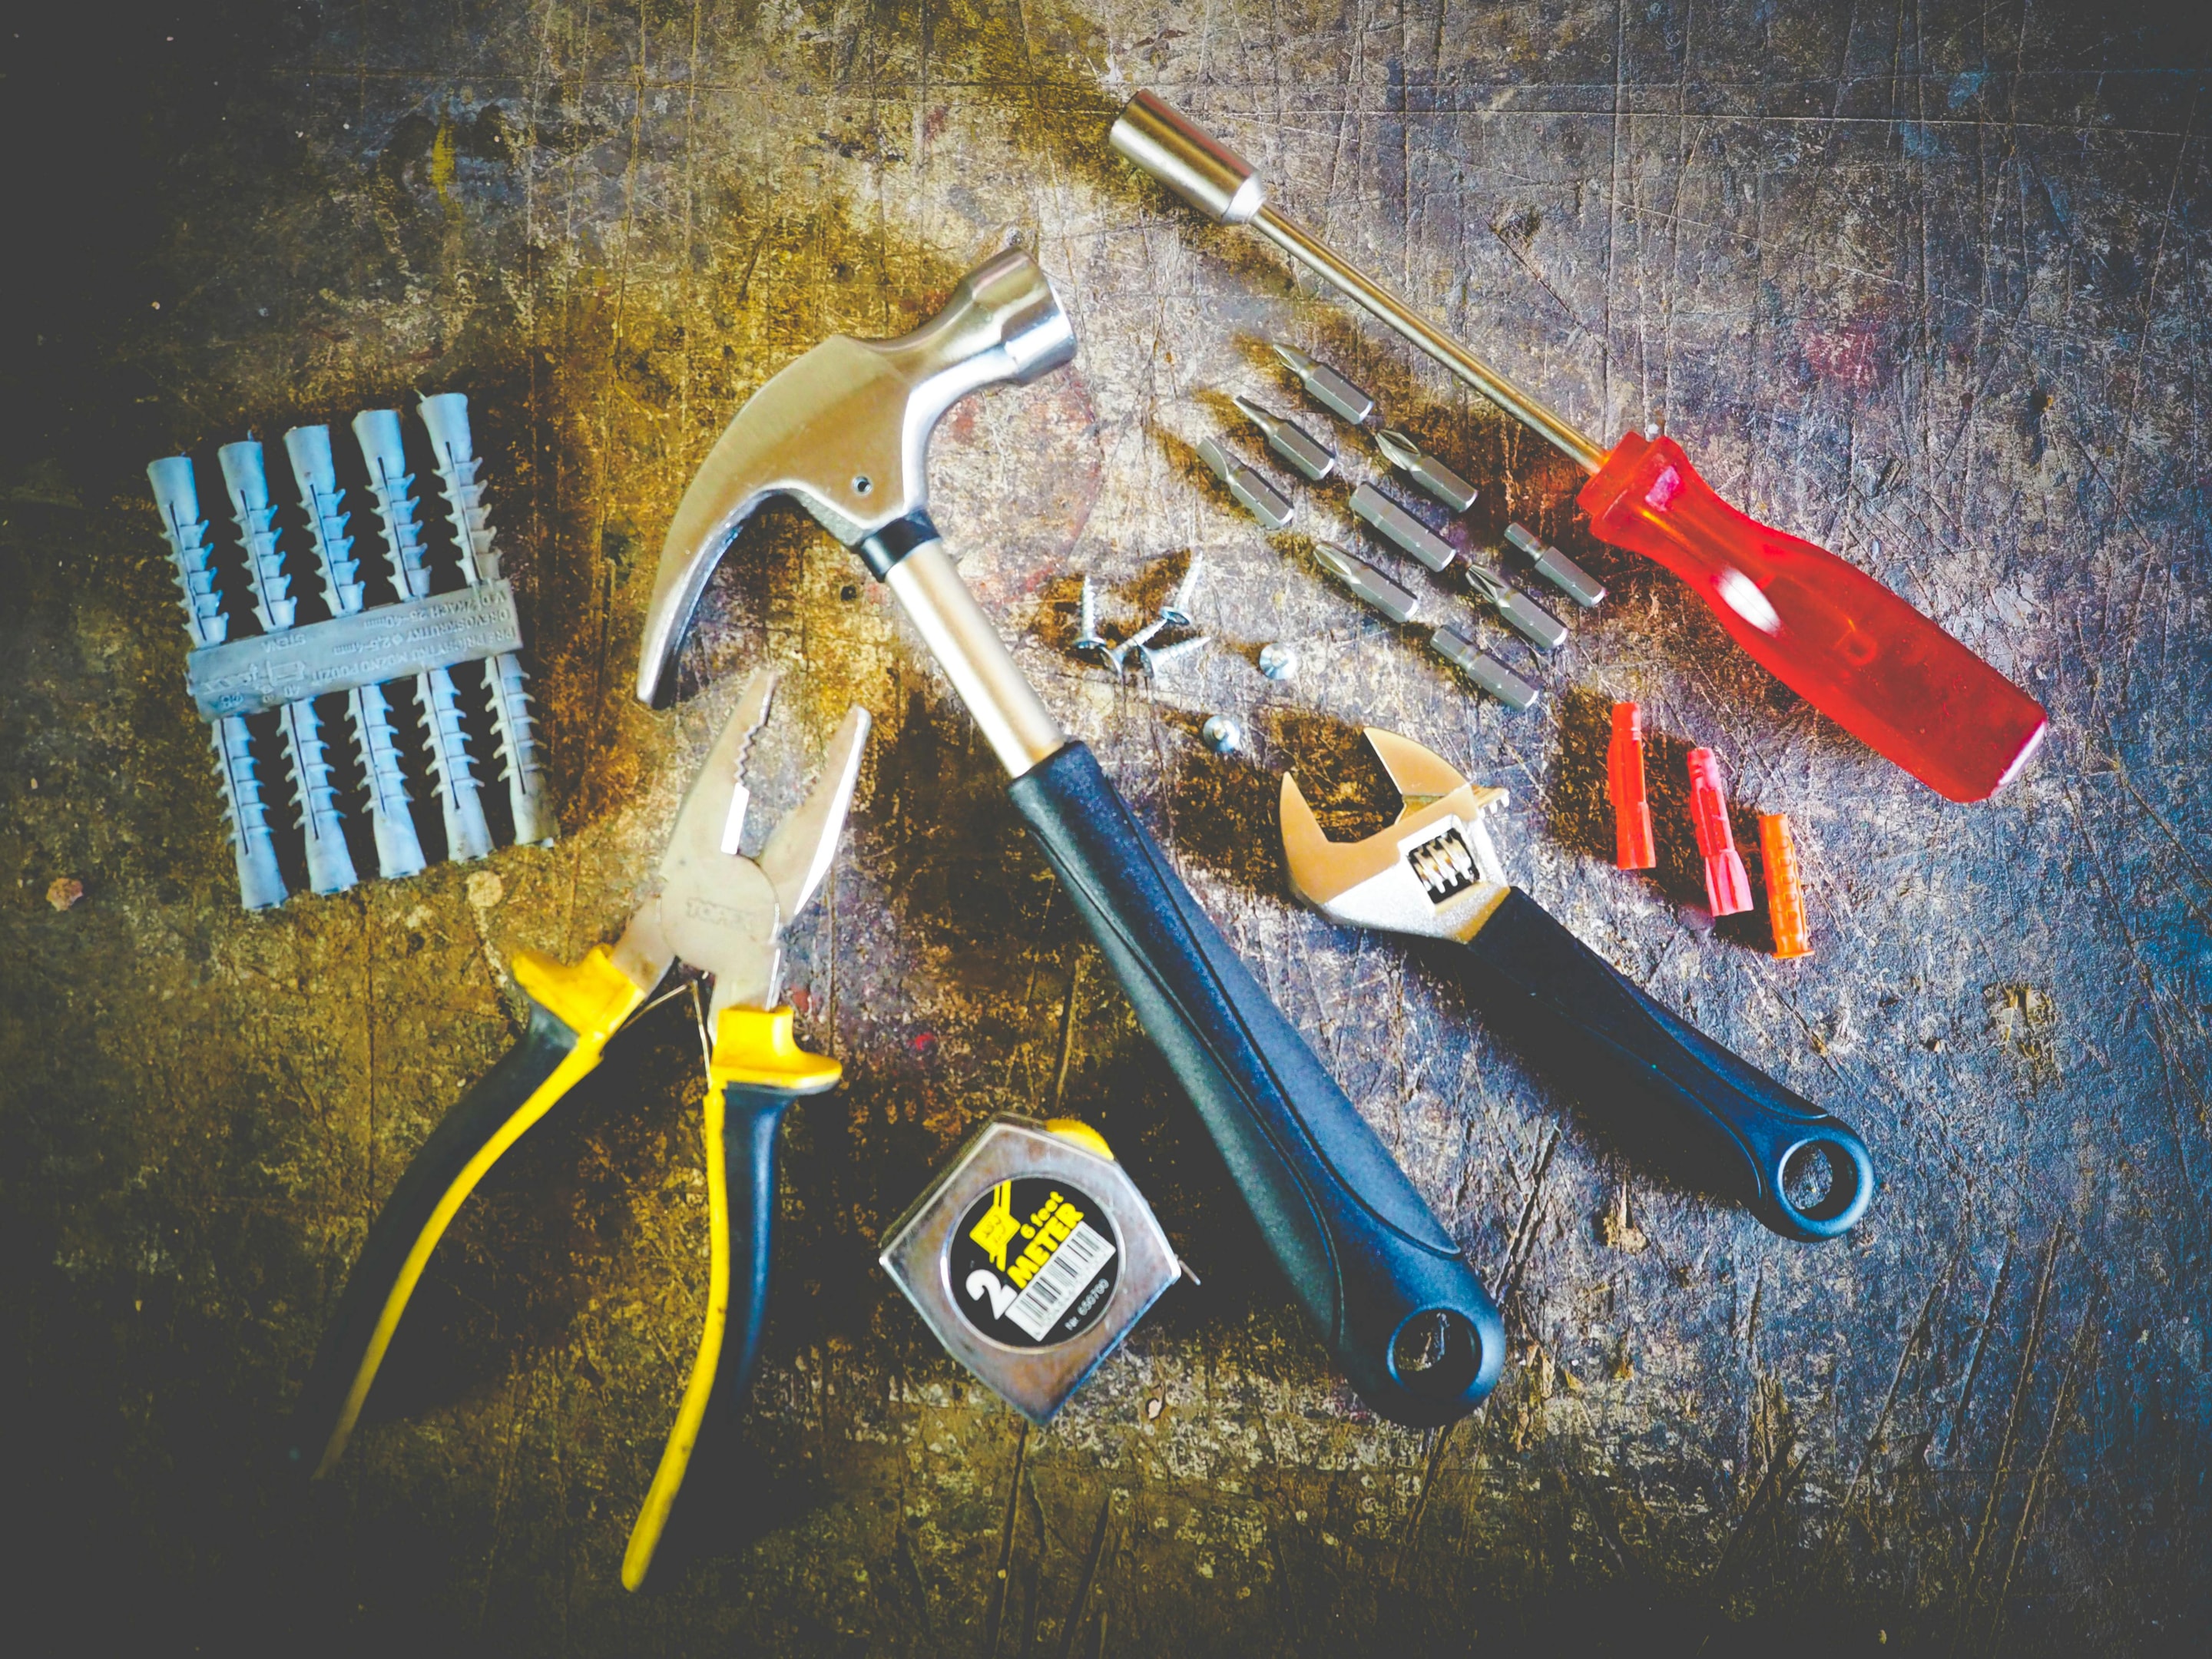
You may also prepare your tools, like cleaning supplies, new hardware, liners, wallpaper, or a screwdriver to tighten screws.
2. Empty everything
Take everything out of the cabinets. It helps you see exactly what you have and creates a clean slate to build off of. Lay the items on your cleared surface where you can easily sort them, like your countertops, dining table, or mopped floor.
Tip: If you’re on the floor for this, lay out a huge blanket! This will make you more comfortable while you work, plus keep your items from sitting directly on the kitchen floor.
2. Clean the cabinets
Wipe down the inside of your cabinets. You might need to vacuum first, depending on how long your collection of small appliances and lunch boxes has been growing.
This is a great time to add shelf liners or wallpaper for a new look or to protect your shelf surfaces.
3. Sort items
Now the fun part! I think…I’m a sorting fan, personally. If you know, you know.
Group your items into four categories:
Keep: Items you use regularly that make sense to keep in that particular cabinet.
Donate/Sell/Rehome: Items in good condition that you don’t need.
Trash: Expired, broken, no-longer-useful items.
Action: Items that don’t belong here, but need to be used for something. i.e., repaired, mailed out, returned.

4. Edit the “keep” pile
Now might be a good time to clear away trash and haul the giveaway items to your car.
Then it’s time to interrogate your “keep” pile.
For each item, you might ask yourself:
- Do I actually use this? When was the last time I did?
- Is it worth the space it takes?
- Do I have multiple versions of this item? (Keep the best, toss the rest.)

5. Show them some love
For the items you keep, give them some attention! Clean up your small appliances, repair whatever may need mending, and tend to your cabinets themselves. If you want to lay some paper, change some handles and knobs, or even hit it with some paint, get going!
Minimizing our belongings to what we truly need gives us the time and space to properly care for and maintain what we keep.
6. Load ’em up
When everyone’s looking spick and span, it’s time to rebuild.
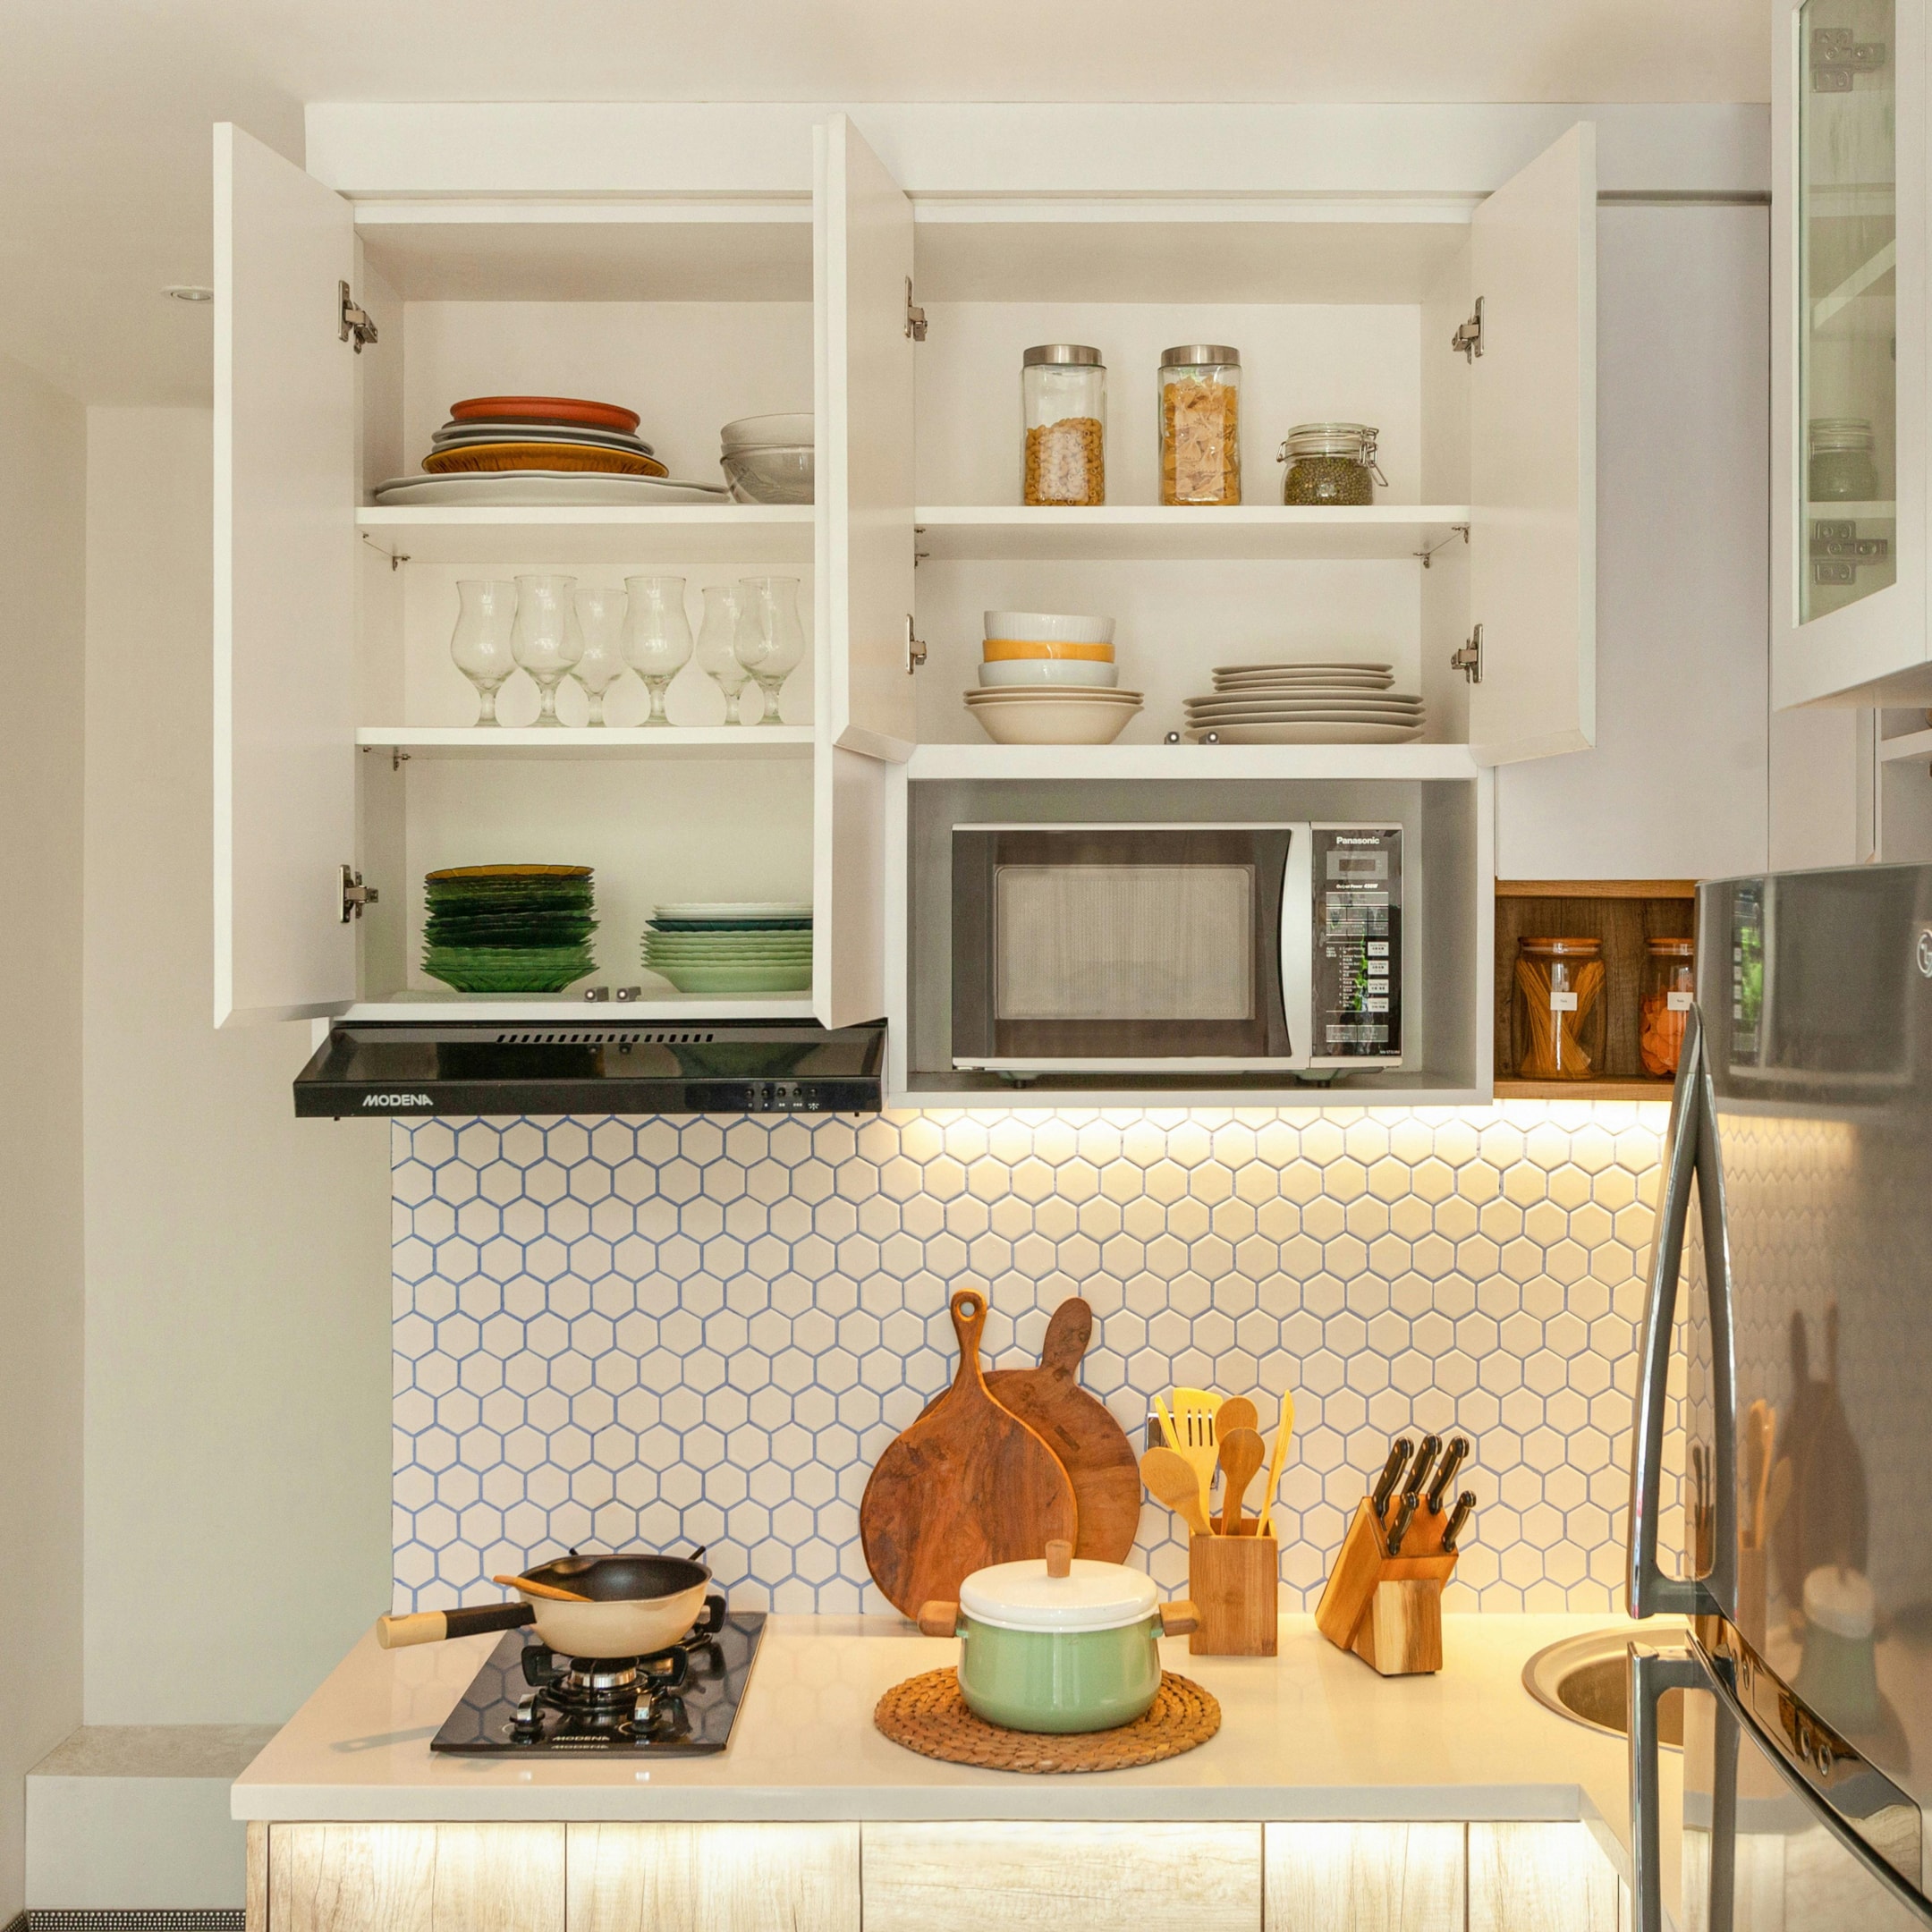
Reorganize your cabinets for accessibility. Place frequently used items at eye level or in arms reach. Store your seasonal or rarely used items higher up or in the back of the cabinets.
Use space-saving tricks like vertical storage to maximize use of the space, but be careful not to overcrowd them. You should be able to easily access your belongings without knocking anything else out of the cabinet.
7. Label (Optional)
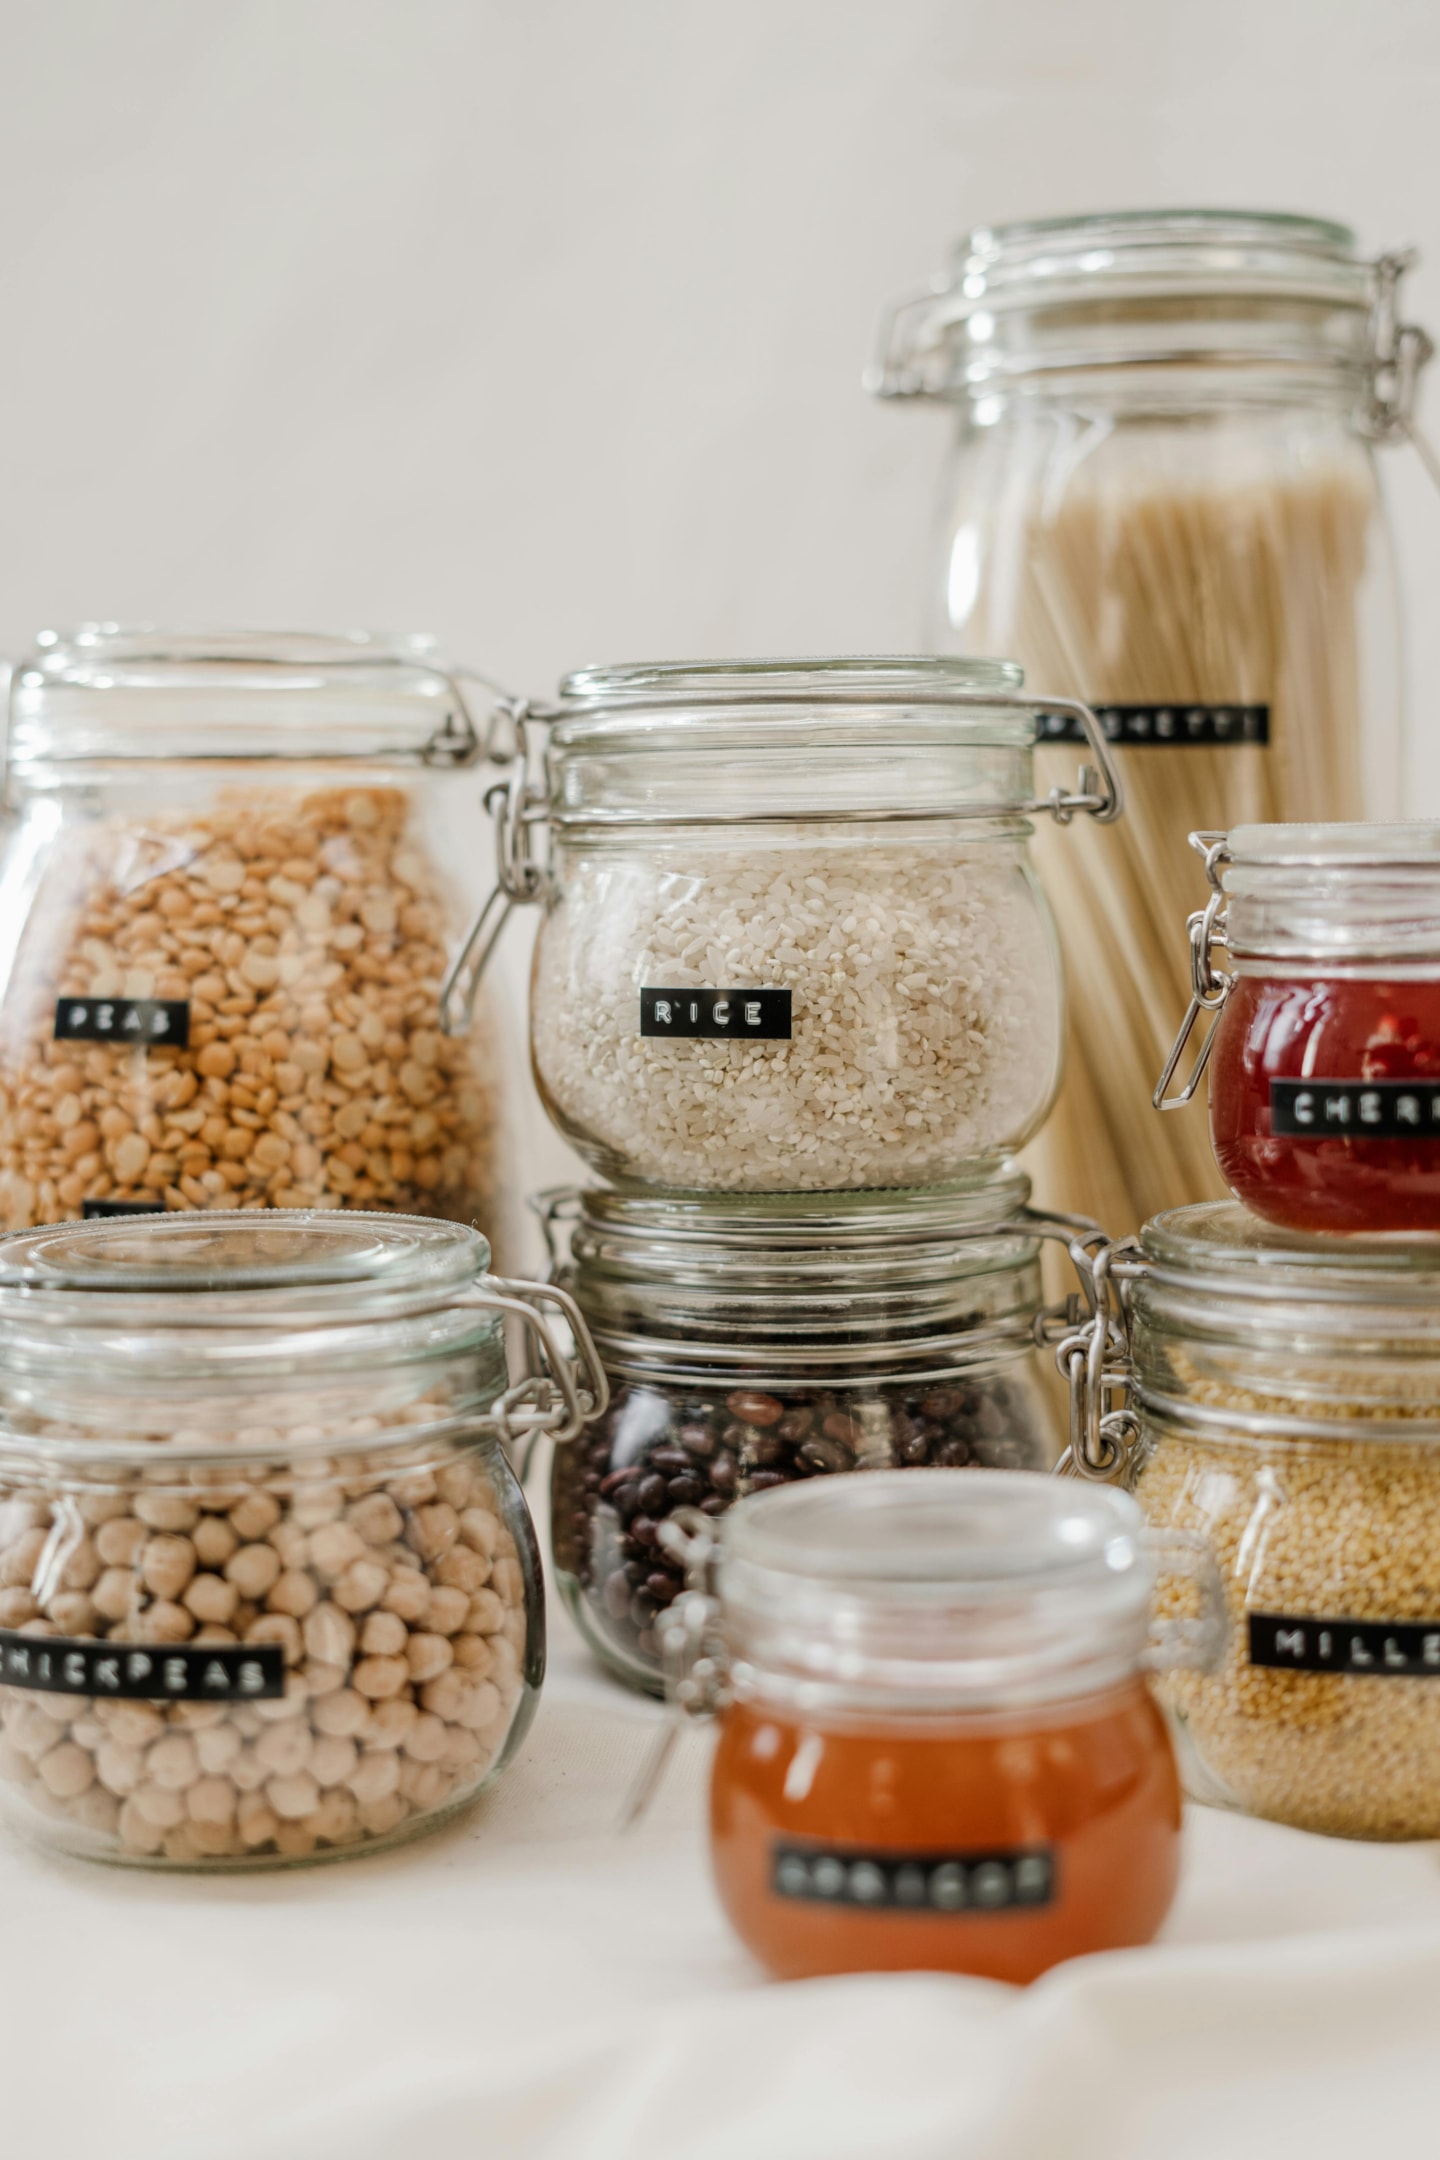
If you’re managing a big household, you might have too much stuff to remember where it all is off the top of your head. Or maybe you just really rock with a label.
So make some labels! Mark your containers or shelves to make finding and putting things away easier, especially in areas with a lot of traffic.
8. Maintain the space
With everything clean and organized, take a few minutes every week or month to do a quick check-in and tidy things up. It’s MUCH easier to prevent clutter from accumulating than it is to dig through years of it all at once.
It also helps to get the whole household in on the process so everyone knows where things belong.
Tips For Decluttering Cabinets
Here are a few extra tips to declutter your kitchen cabinets if you’re running into roadblocks.
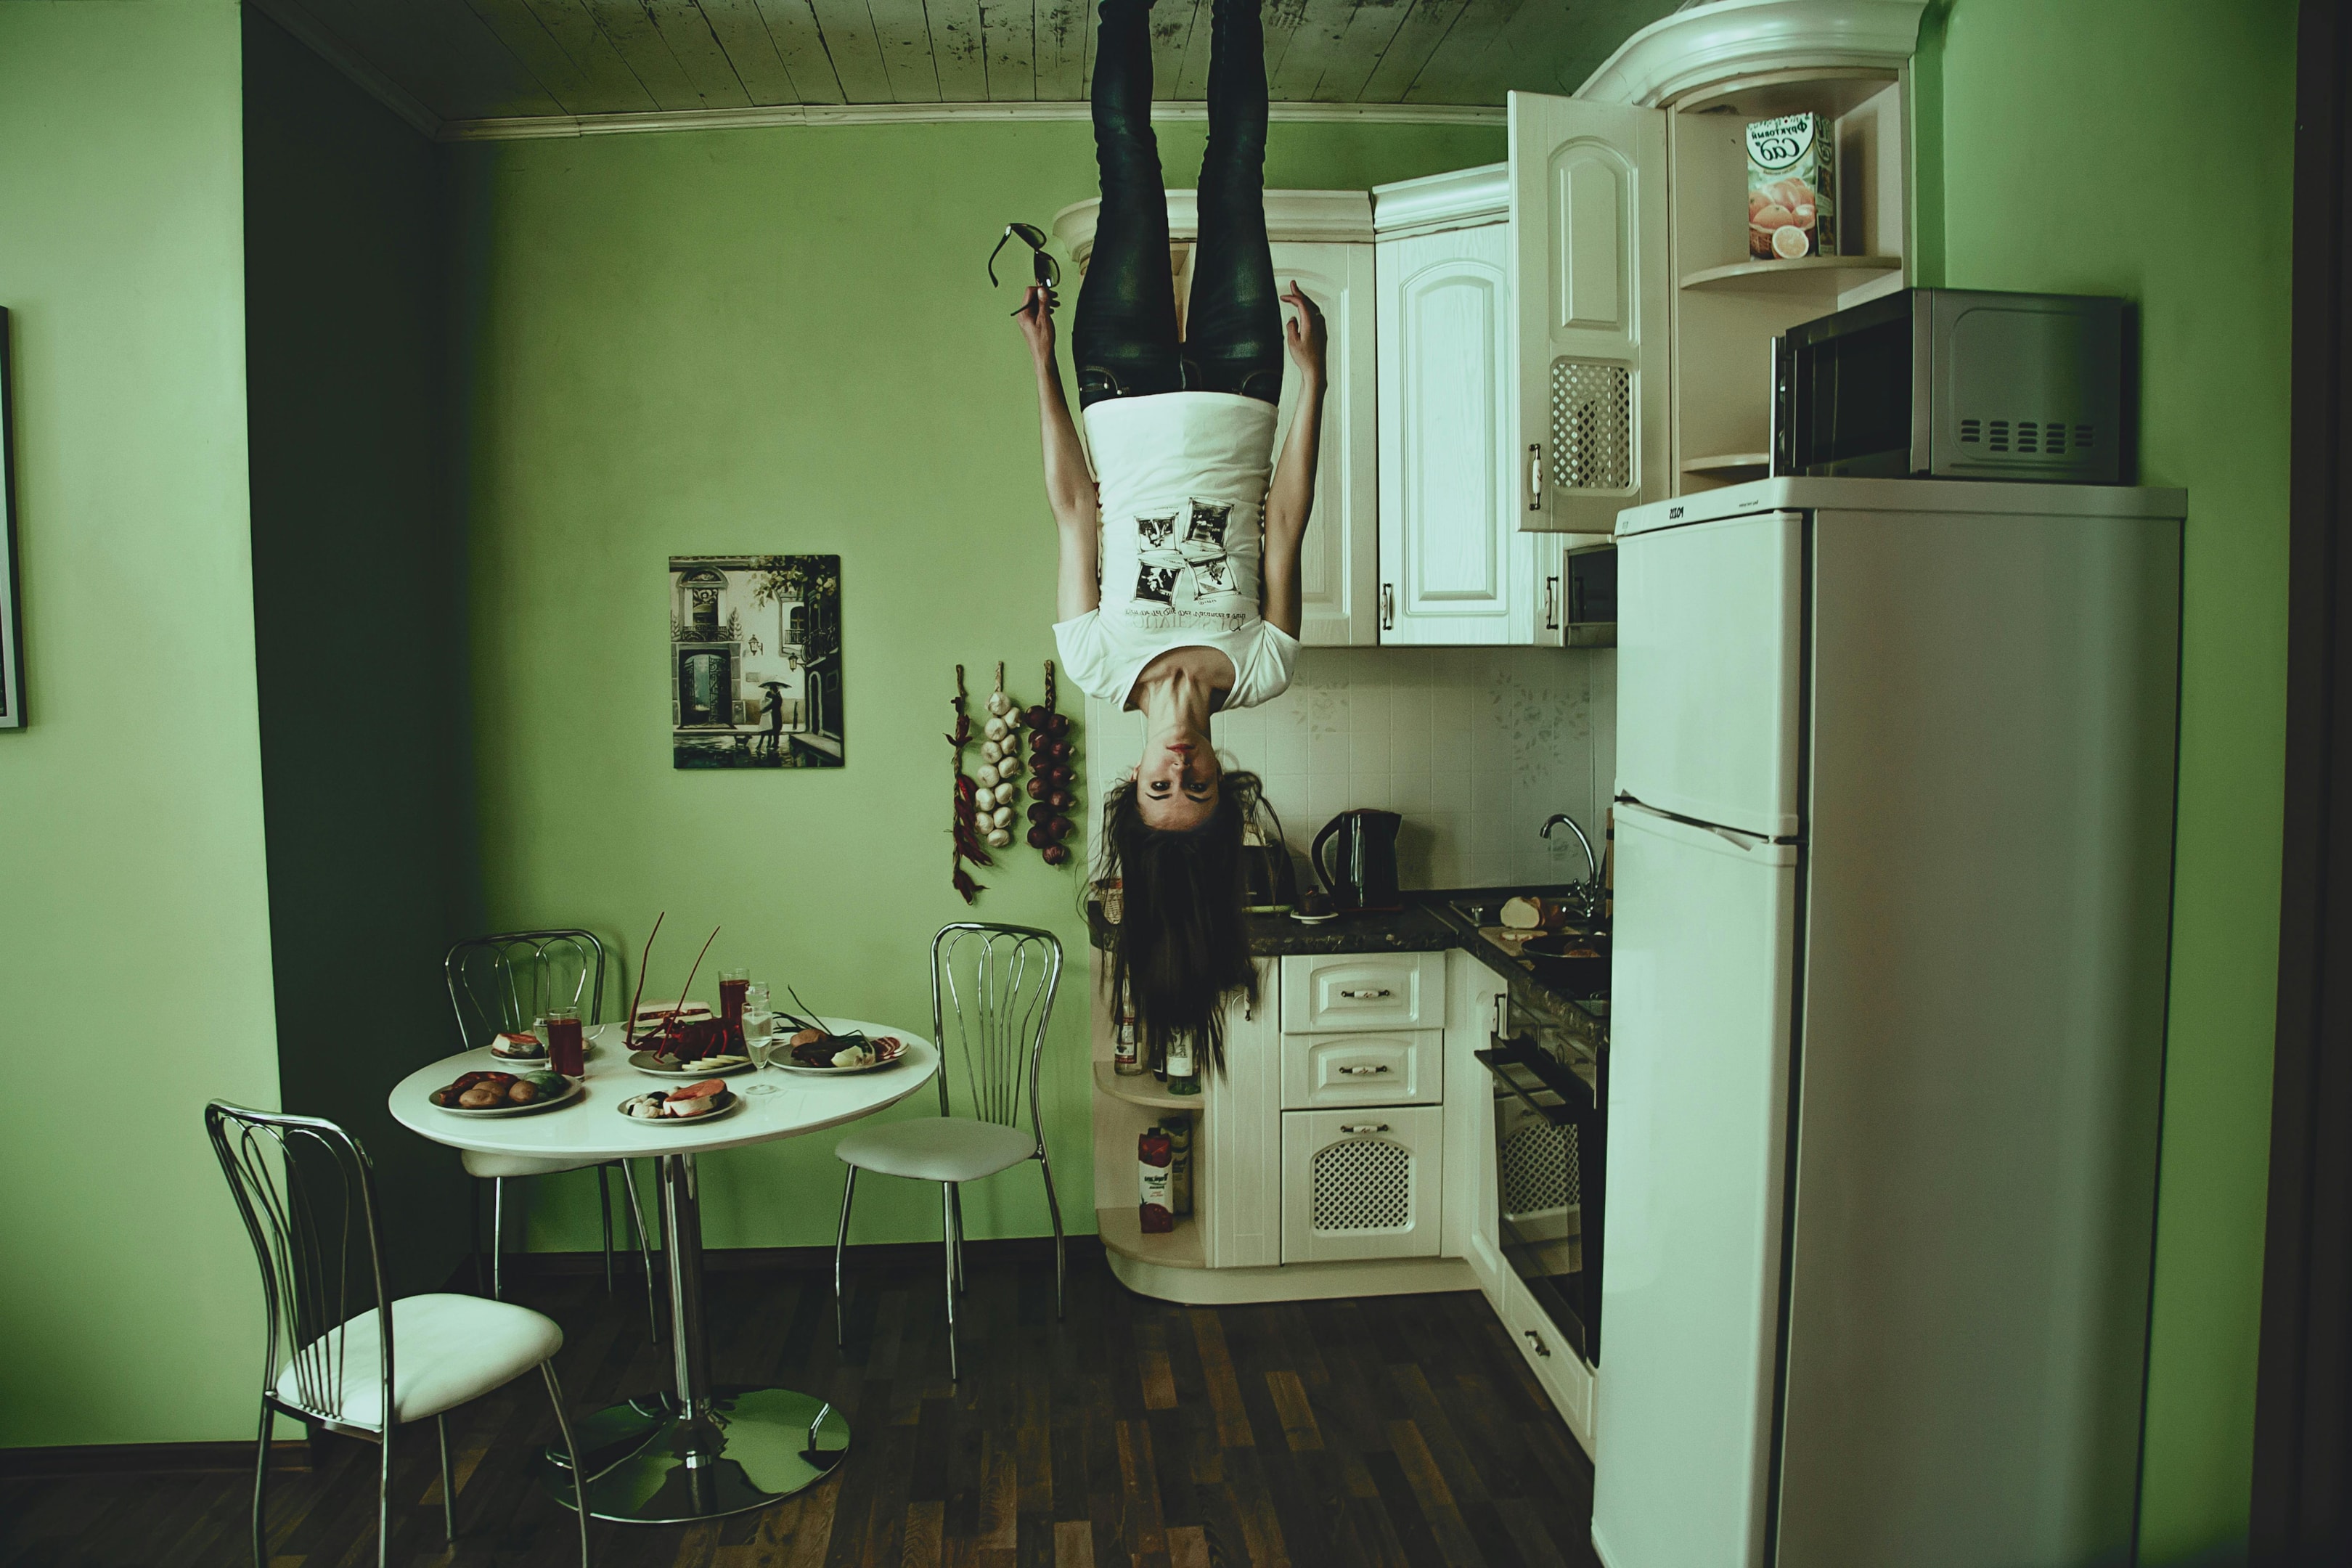
The Upside-Down Method
Turn all items upside down when returning them to the cabinet. As you use items, put them back right-side up. After a month, consider discarding anything still upside down.
One In, One Out
For every new item you add to the cabinet, remove an old one. This maintains balance and prevents future clutter.
Instead of letting those coffee mugs stack up, decide how many you reasonably want. When a new one comes in, an old one goes out.
The “Maybe” Box
For my hesitant Janets, a Maybe box might help you declutter with less anxiety. For items you’re unsure about, place them in a sealed box. If you don’t open it within 3 months, donate the contents without looking inside.
The Hotel Test
To identify your true essentials, only keep items that you would find in a hotel suite. Four glasses, four plates, five of each utensils, etc.

Take a photo of sentimental items.
This is a great tip for sentimental items all over the house. If you don’t want it anymore, take a photo to commemorate and look back on. This can lessen the sting of letting it go.
If it’s a family heirloom, you could try to rehome it with another family member who might love to have it or have more use for it.

Medieval Lo-Fi (or something)
The decluttering process is stressful for most people. Create a comfortable ambiance to work with! Whether that’s cleaning up before you start unloading cabinets, laying out a blanket, lighting the space properly, or playing some music.
I personally opt for medieval lo-fi.
If you’re a Stress Cleaner that gets bit by the declutter bug when you need to emotionally regulate, take a moment. Breathe. Address the environment around you before you build a bigger stress-mess. Starting a difficult task like decluttering when you’re emotionally compromised is risky.
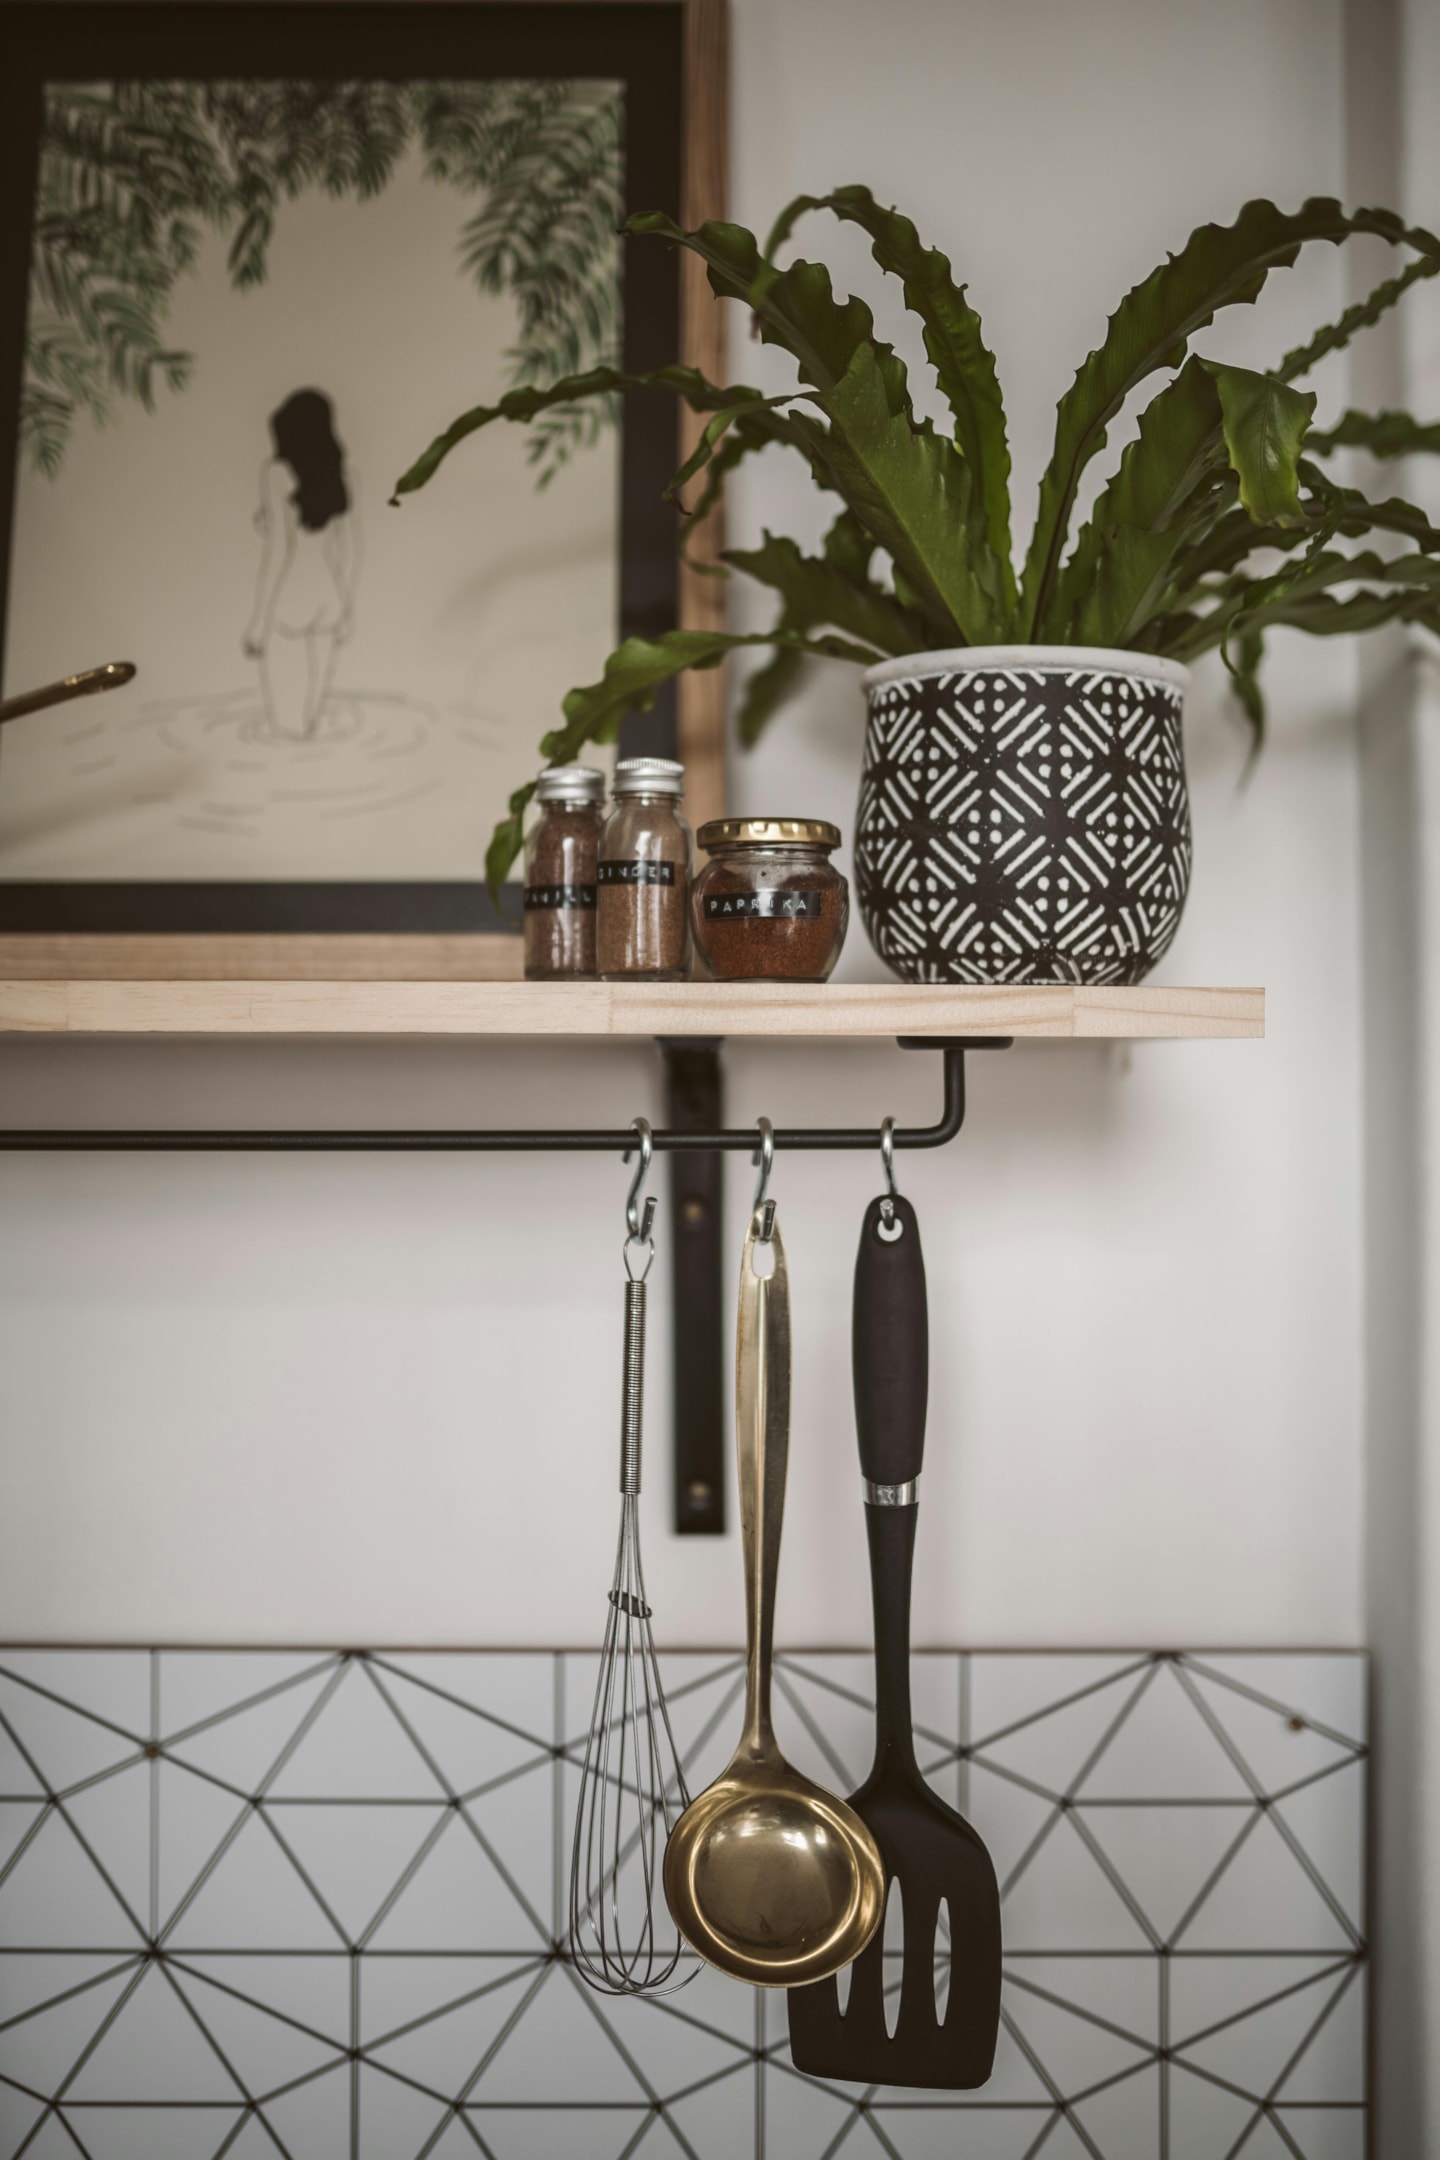
Use as decor.
If you have beautiful or sentimental pieces in your cabinets that you’d like to keep, can you style them into your kitchen decor? Hang copper pots, install a floating shelf for jars of herbs, display those family heirlooms.
This not only saves cabinet space but also adds personal character to the room and negates the desire for additional decor.
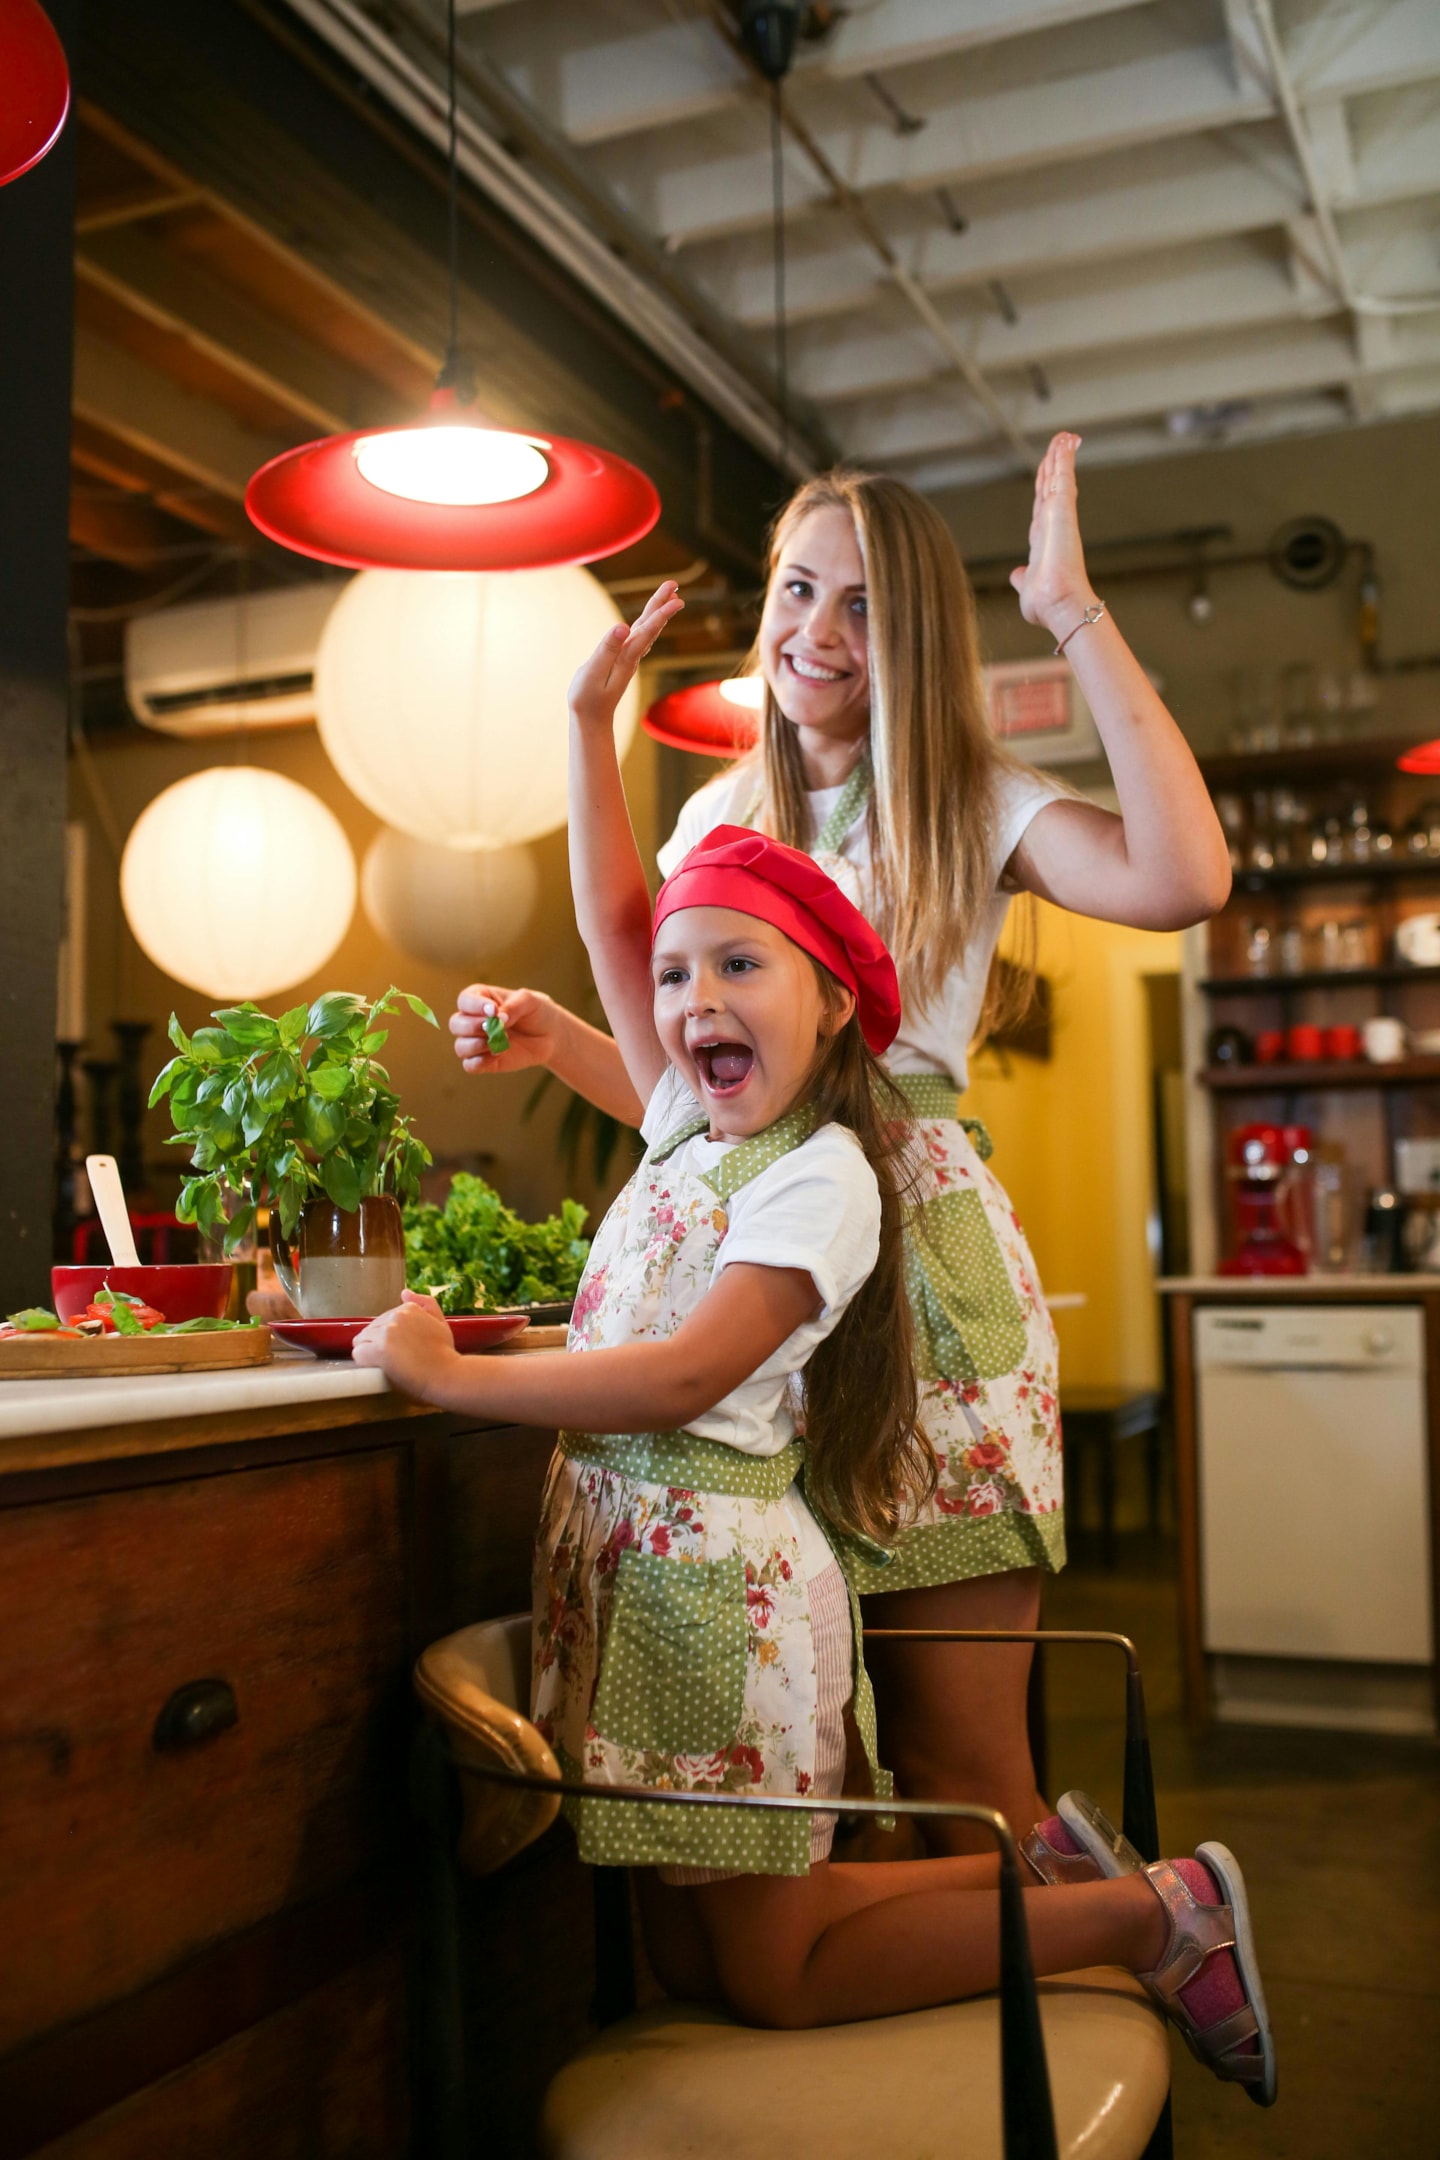
Get the family in on it.
If you’ve got a family around, you might let them help out! If not actually helping, you can bring them in afterward to give them a tour of your systems. It’s important everyone in the household understands how to keep things organized and neat.
It doesn’t matter how logically you arrange your Tupperware. The 11-year-old you just asked to unload the dishwasher is about to frisbee them in from across the kitchen if you don’t tell them otherwise.
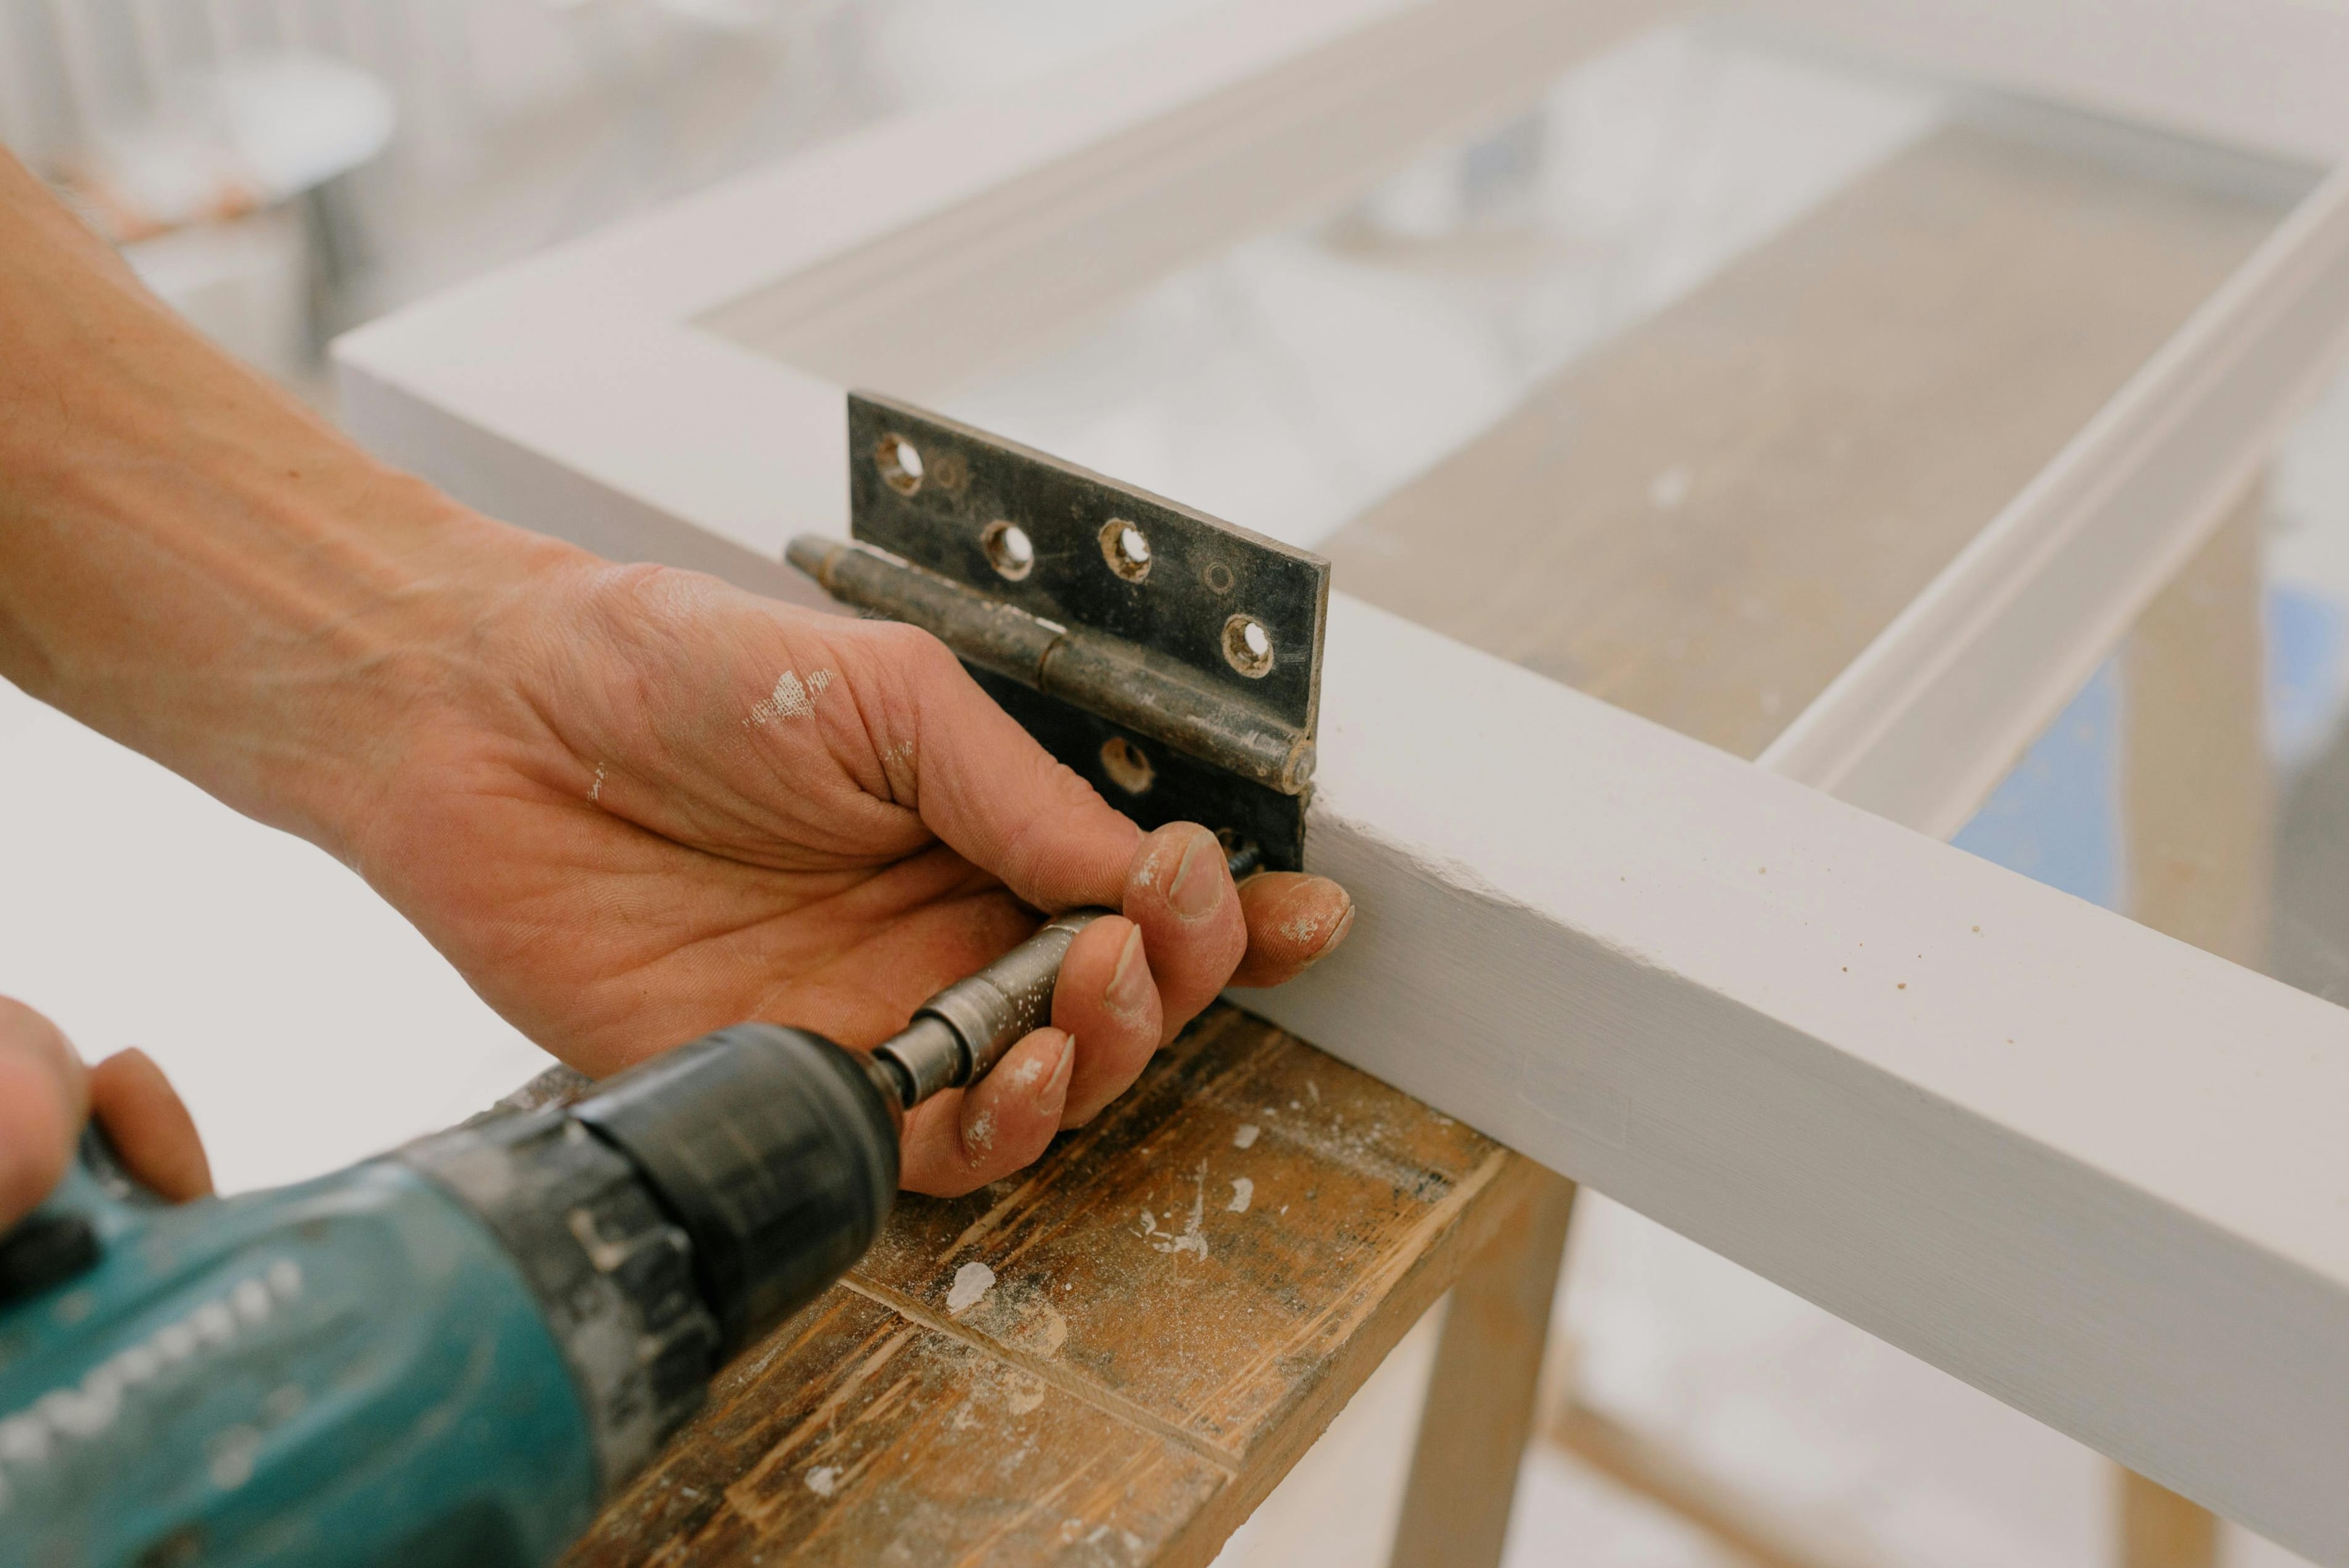
Fix loose hinges with toothpicks.
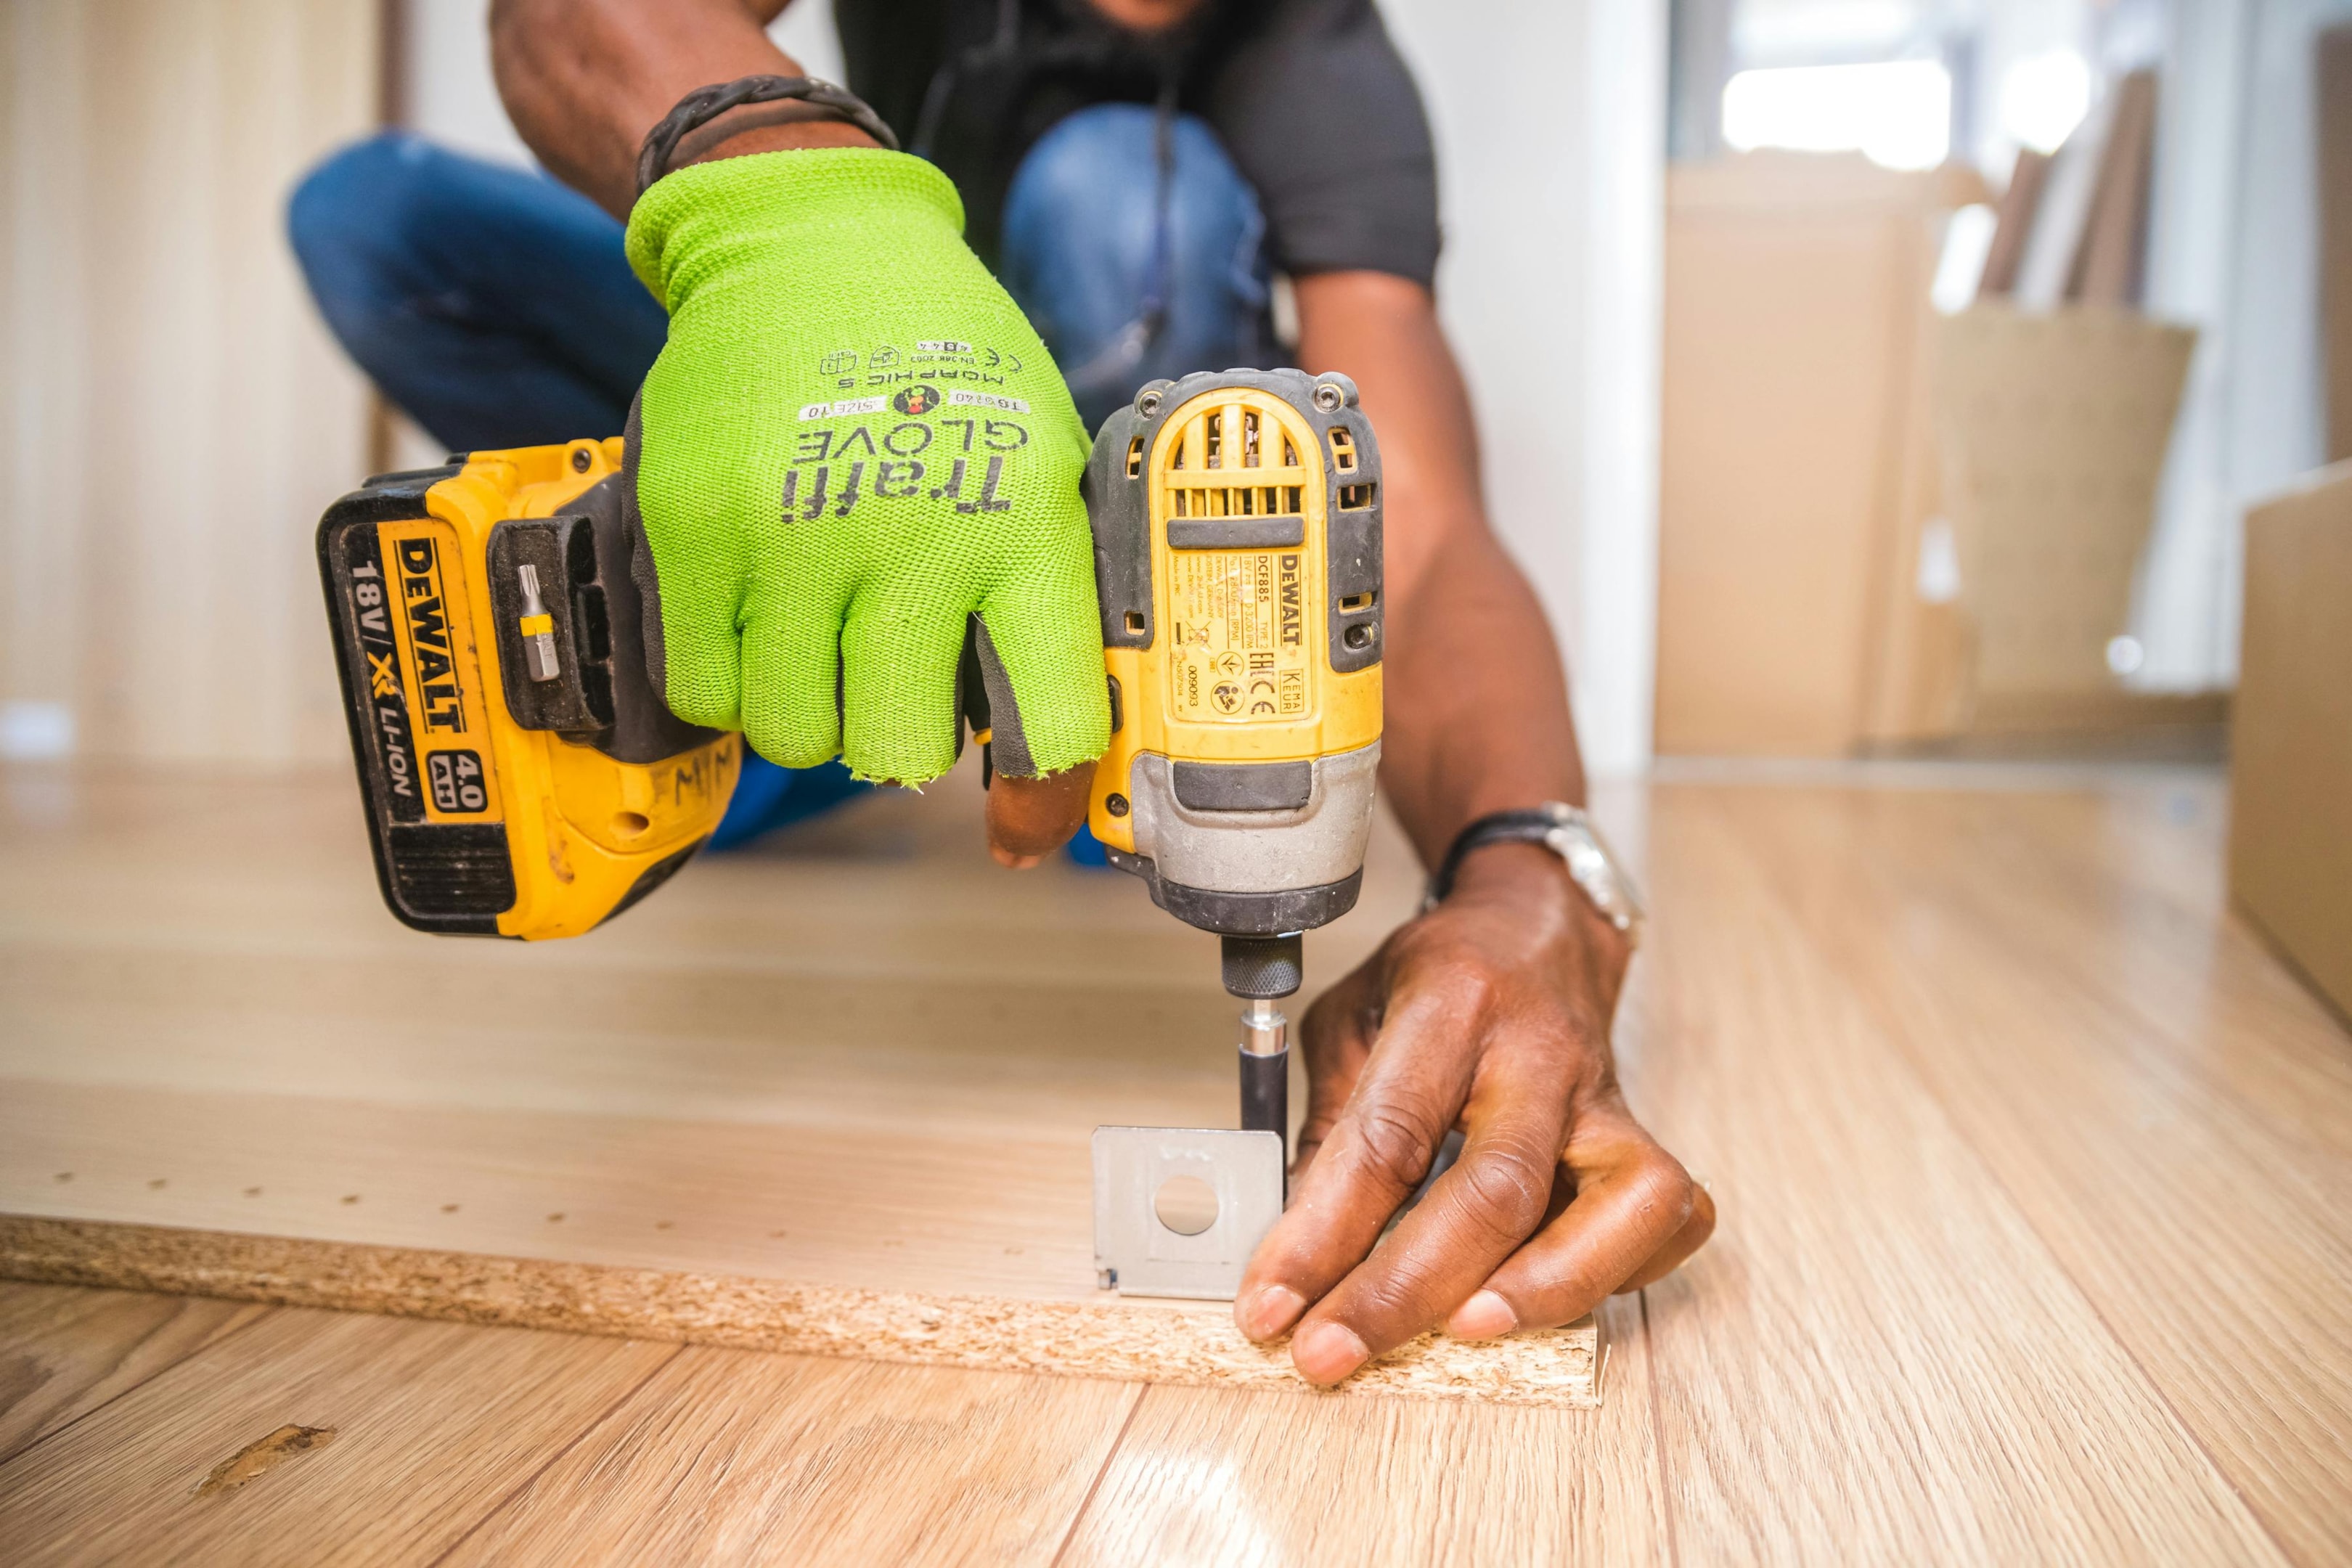
If your cabinet doors are hanging by a thread because your hinge screws have stripped the wood, an easy fix is to remove the screws, shove a few toothpicks in them, then reattach your cabinet doors.
Grease squeakers.
Don’t let grating sounds steal your peace a little sliver at a time. Go ahead and grease anything that screeches or squeaks!
You can also add bumpers to cushion them if your cabinets tend to slam. Controlling sound can be an important part of creating a kind environment for yourself and your family to live in.
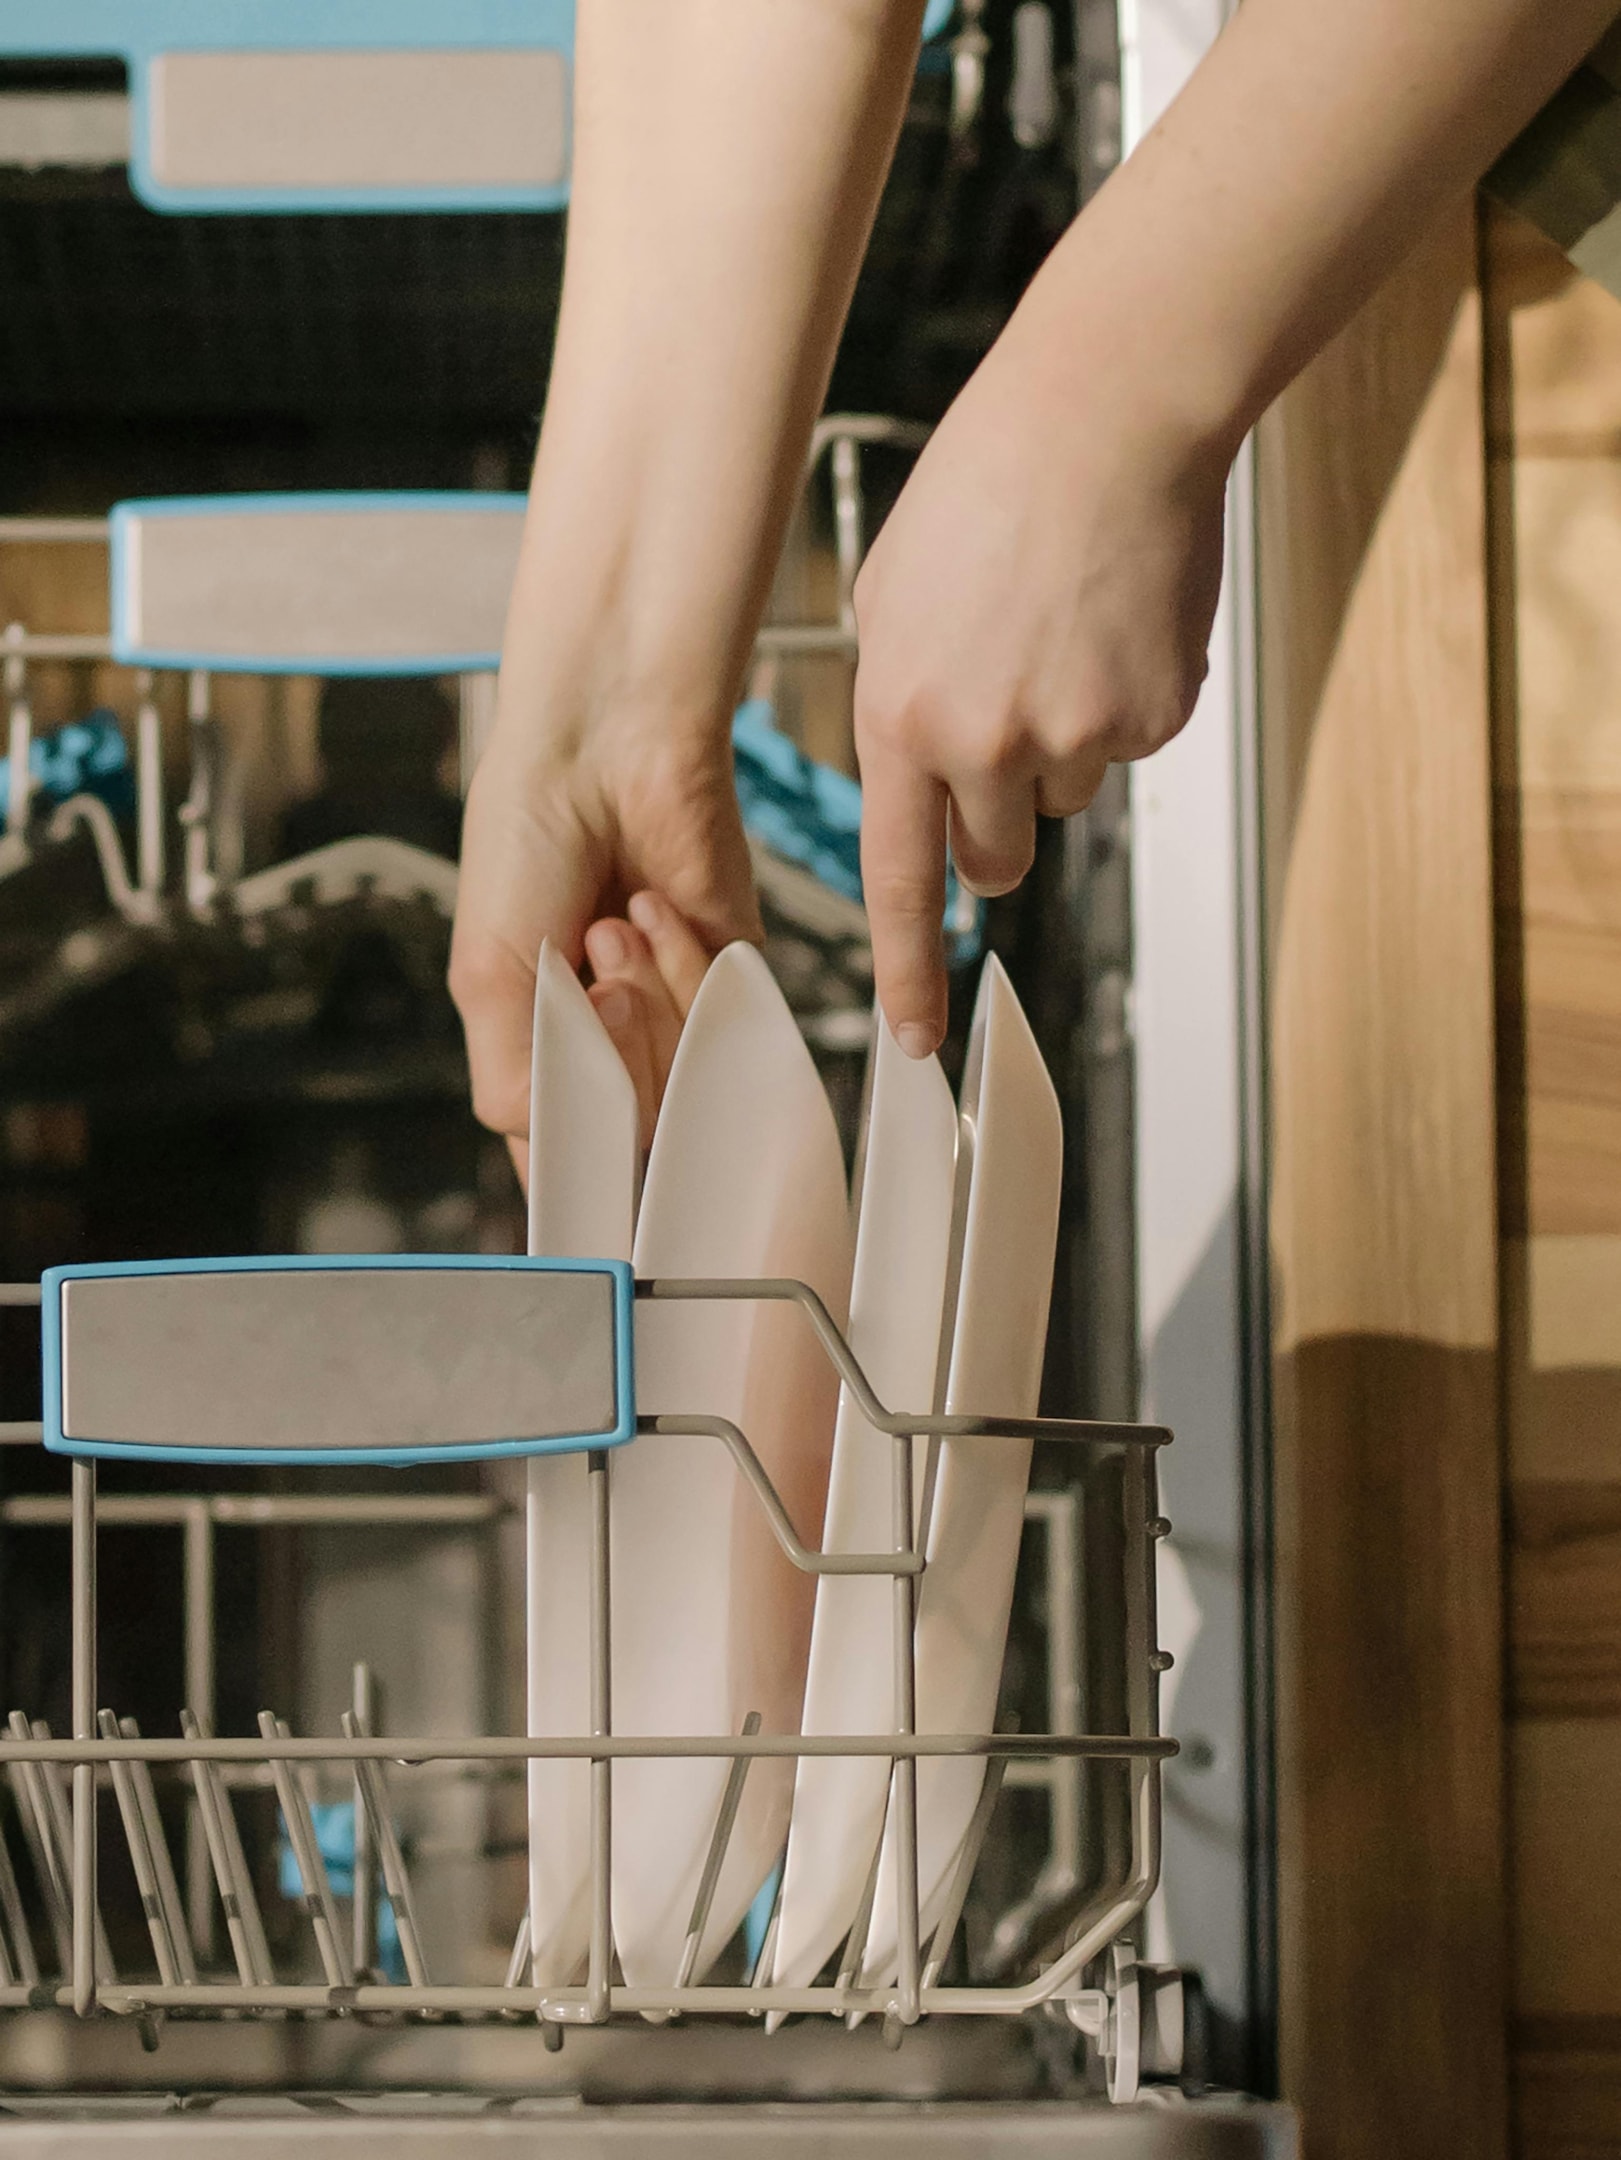
Consider the dishwasher.
You may want to organize your kitchen cabinets and drawers in a way that facilitates easy put-away. So keep in mind where you need your cooking items, and things like storage containers and dinnerware could be stored near the dishwasher for convenience.
And maybe the 11-year-old will actually put away the Tupperware…
Whatever decluttering method or tips you choose to use, be patient with yourself! The road to a decluttered home is long and can only be taken one step at a time.
For more guidance, join our Clutter-Free Army newsletter for weekly 10-minute tasks that make decluttering your house a breeze.
How To Save Cabinet Space
If your declutter didn’t make everything fit nicely, let’s look at some hacks to save space.
Build vertically.
Go up! We often leave half of the cabinet space unused by only storing in one layer. Try building up by installing more shelves, using shelf risers or a Lazy Susan, or hanging items with hooks on the back wall.
Consider drawers.
Some items are better suited for drawers. Is there anything you’re keeping in cabinets that might suit the size of your drawers? This might be pots, storage containers, baking tools…
Also keep any littles in mind! Storing the kids’ dishes in drawers they can reach will allow for more independence and involvement for them.
Consider…drawers again.
You can toss a mini-drawer set into your cabinet to utilize more space for spices, herbs, measuring tools, and other smaller kitchen items. Pull-out baskets could accomplish the same result.
What are the minimalist kitchen essentials?
“Mia, I don’t want to think about kitchen essentials! It’s so hard to make decisions.”
Babe, I got you. You’re too pretty to think. Go sit down, and I’ll make you a list.
Kitchen essentials
Here are the absolute bare minimum items for the kitchen. You may find you have a few unique essentials, or that some of these don’t apply to you, and that’s perfectly okay! Start here and customize for your particular kitchen needs.
1. Cookware
- Saucepans (small and medium)
- Frying pan/skillet
- Large pot for soups/pasta
- Baking sheet
- Casserole dish
2. Utensils
- Chef’s knife
- Paring knife
- Cutting board
- Wooden spoons
- Spatula
- Whisk
- Can opener
- Measuring cups and spoons
3. Appliances
- Microwave or toaster oven
- Toaster or toaster oven (looking like the solution here is to just have one toaster oven)
- Kettle
- Blender or food processor (I use a Ninja that functions as both)
4. Prep and Storage
- Mixing bowls
- Colander
- Food storage containers
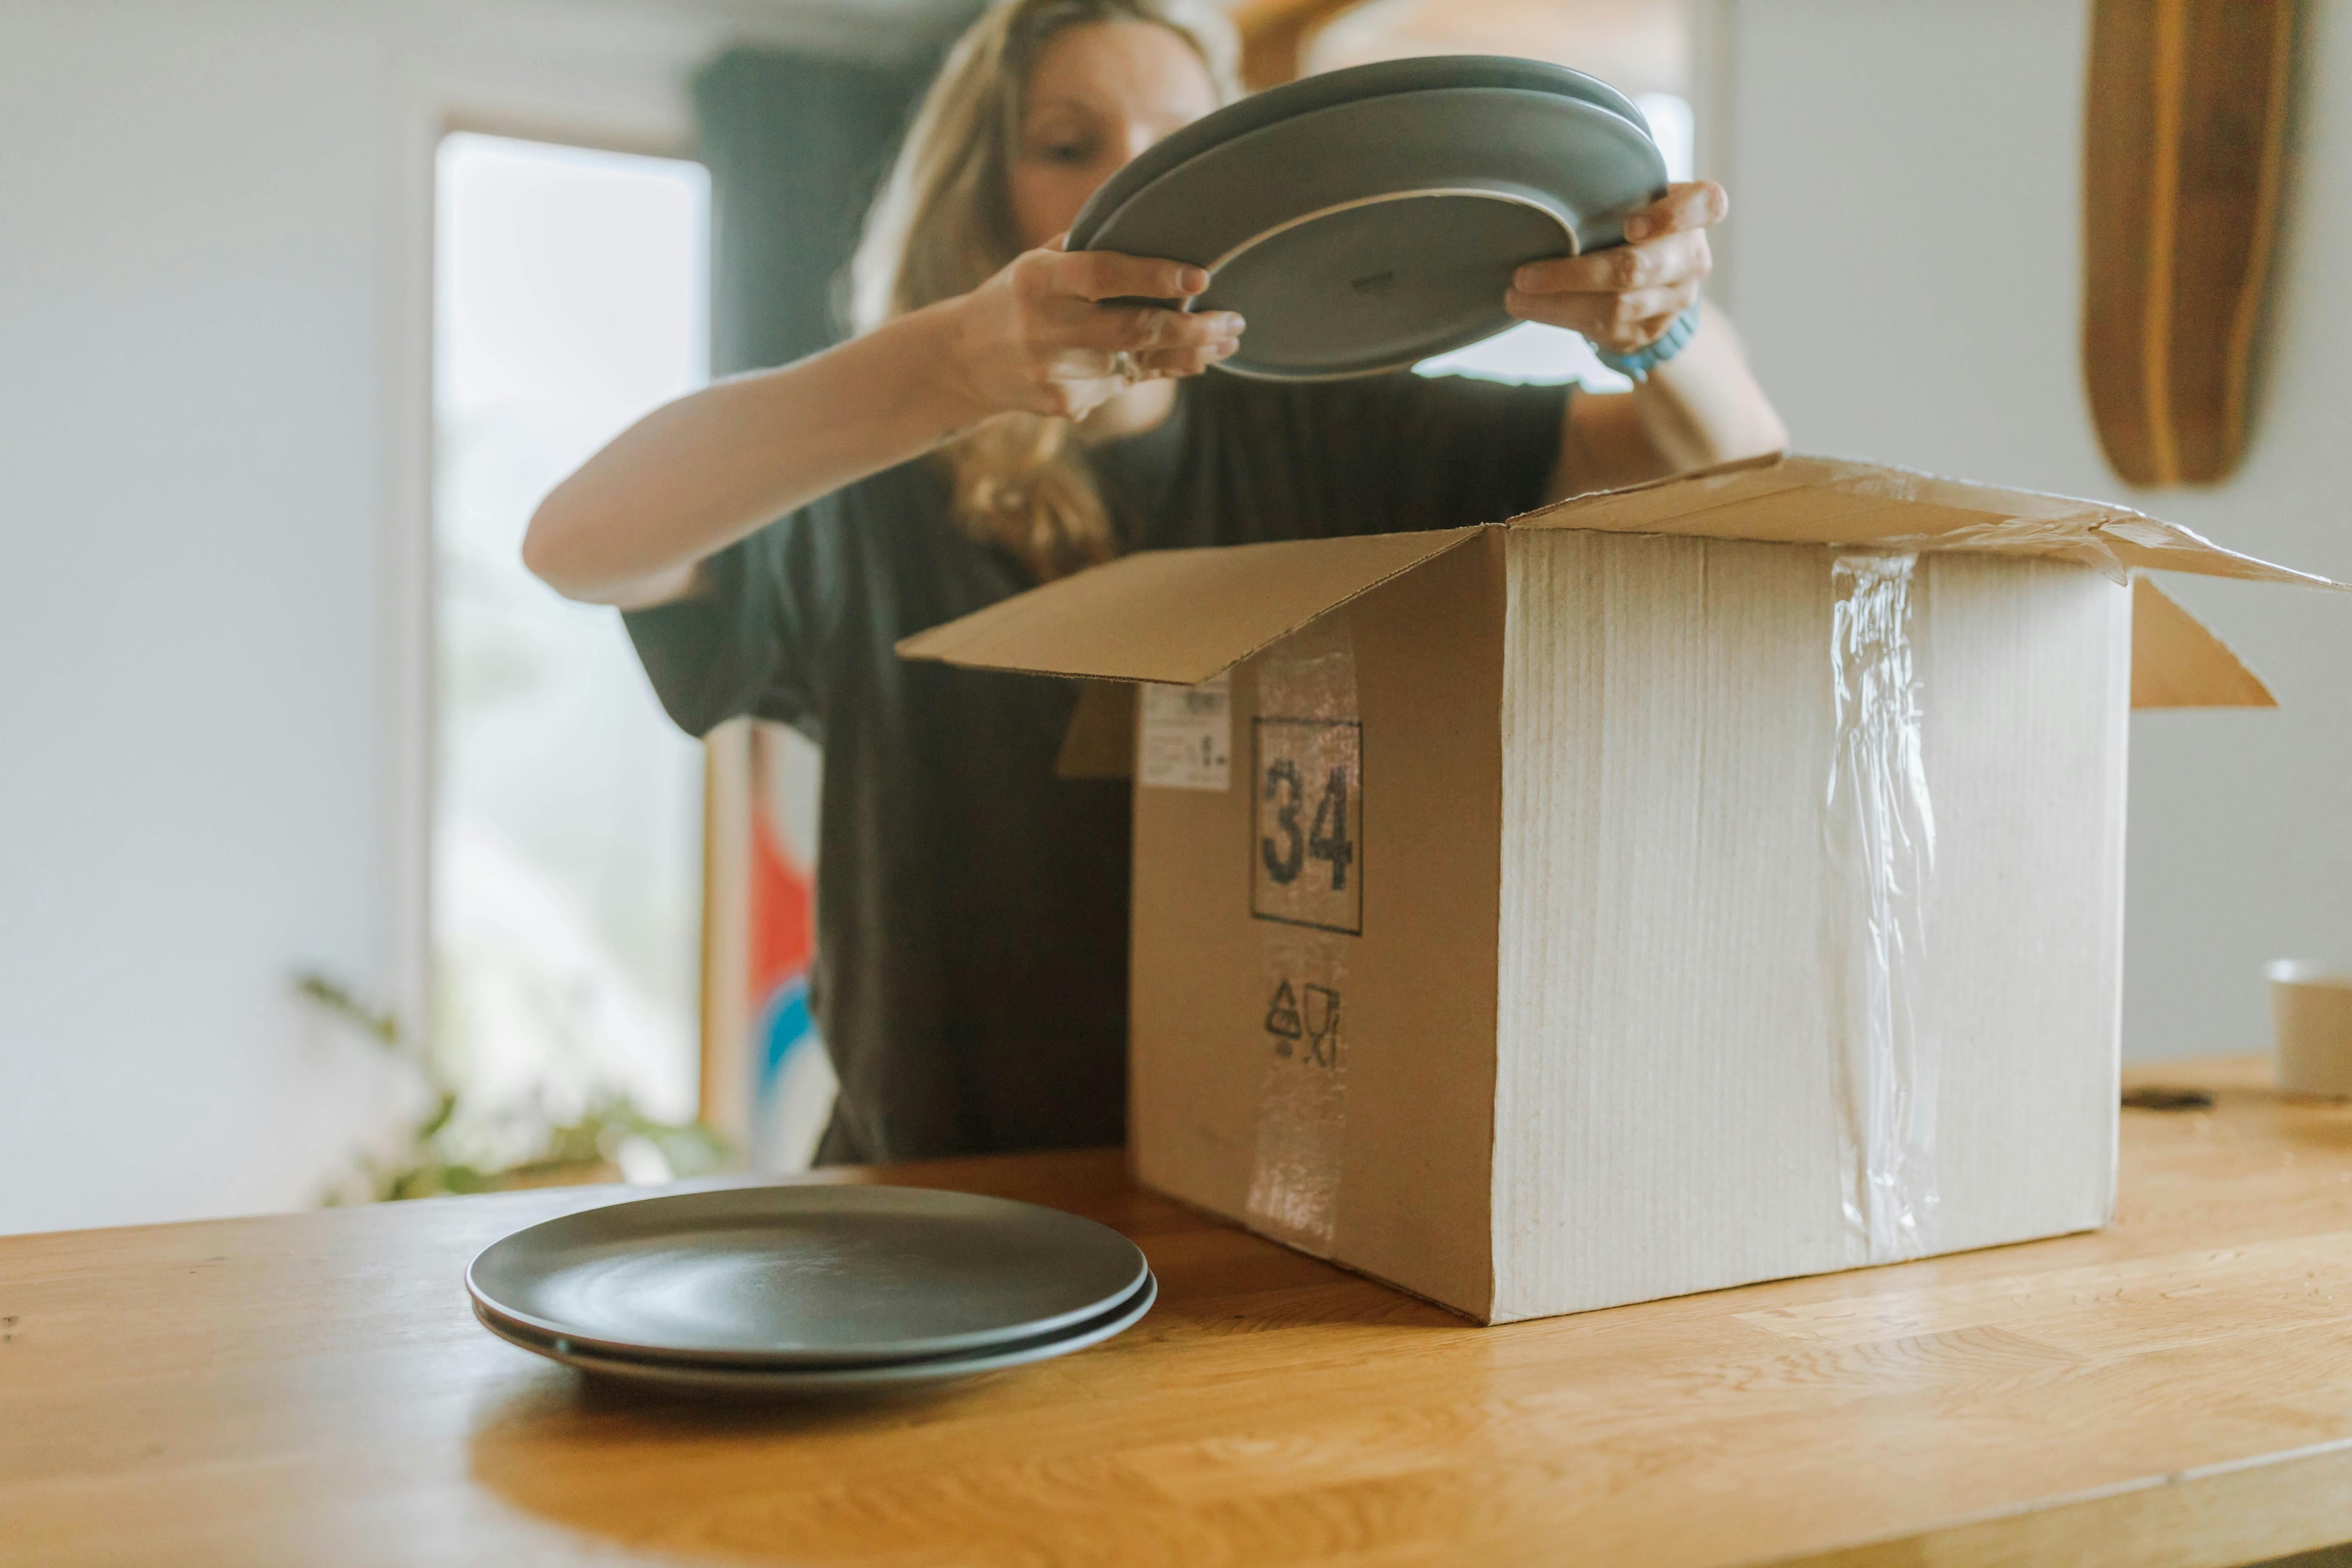
5. Dinnerware (one per family member)
- Plates
- Bowls
- Glasses
- Mugs
- Cutlery set
6. Miscellaneous
- Oven mitts
- Dish towels
- Trash can
- Apron
- Paper towel holder
These items should give you a functional, minimal kitchen that allows you to prepare more meals. If you cook more complex things, you may need additional tools like specialized knives, utensils, small appliances, extra mixing bowls, crockpots, a bread machine, or maybe specific types of pots and pans.
For more ideas of what qualifies as a kitchen essential, check out this real list of kitchen essentials that Rebecca kept when she down-sized her kitchen.
Congratulations! Your kitchen cabinets are totes gorge.
Grab our kitchen decluttering checklist for a step-by-step guide on streamlining your entire kitchen and making your life easier.
Now about that pantry…