Decluttering 101

Step 1: Start with daily tasks
Let me just tell you this now: Setting up a morning and evening habit of doing a quick tidy in the kitchen and washing the dishes makes all the difference in the world.
And if you don’t believe me, I challenge you to try it for a month and prove me wrong.
Why does it work?
Because having un-done-tasks is added mental clutter. Every time you walk by the kitchen a little voice says “Hey! You still need to do the dishes- they’re getting gross in there!”
This is mental clutter. It’s like there is a running to-do list in your mind that you are always trying to remember. I know, because I’ve been there!
When the dishes are done and the counters are clean, there is a freedom in knowing that whenever you are ready to work in the kitchen- the kitchen is ready for you. Your workspace is ready and clean.
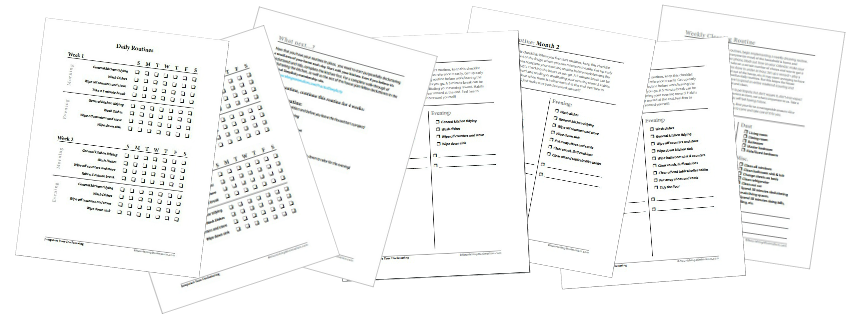
Enter your email here and get my free PDF to help you develop your daily routines:
Step 2: Focus on the Kitchen
Does it have to be the kitchen? No. But the kitchen is often the best:
- It’s used several times each day, so it will have the most impact on your state of mind.
- Because you are there so often, you know exactly what tools you use regularly and which ones you are always moving and working around.
- Most of the items are utilitarian, which means there are fewer emotions to process as you sort.
Step 3: Have 3 boxes
- Trash
- Donate
- Put Away
Why “Put Away:”
As you sort through your kitchen, you will find items that belong in other rooms and it’s easy to get distracted by them- either by putting them away and finding something else to work on in the other room, trying to think of where they do belong, etc.
Instead, quickly toss them in the “Put Away” box and deal with them after your decluttering task is complete.
Step 4: Chunk it down
When you are ready to work, pick a small area: one pile, one drawer, one shelf, one counter, one category, etc.
Make sure to only take out as much as you can deal with in the time you have. If you only have 10 minutes to work on this, pick a space that you know you can completely sort, organize and discard of the excess in that 10 minutes.
What does that look like? Well, maybe that’s just sorting the water glasses or the coffee cups, Maybe it’s working on the top of the fridge or just the magnets on the front of the fridge. Maybe it’s only sorting the measuring cups.
Step 5: The process
Instead of standing at the cupboard and trying to decide what you want to get rid of, pull everything off that shelf and look at it- ask yourself what you want to keep.
Changing the way you look at it from “What do I want to get rid of?” to “What do I want to keep?” makes a difference in the number of items you are able to get rid of. Generally, we don’t want to keep all the gimmicky coffee cups, but we probably wouldn’t think “Oh, I should get rid of them!” from the get-go.
Shifting the process helps you get rid of more.
Step 6: Set a timer
Knowing you only have a certain amount of time means you make faster decisions. It also helps you stay on task and ignoring other distractions. (Oh, was that a Facebook notification I hear? I wonder what it is…)
Step 7: Ask 3 questions
- Do I love it?
- Do I need/use it?
- Does it help me live the life I want to live?
That last one is the most important. Does it help you live the life you want to live? If the answer is anything but “YES!!” then you need to get that item out the door!
Practical thinkers often struggle with the “do I love it?” question- because, really, do you love your pancake turner? Some people might, but for me- it serves my purpose. I wouldn’t care if it broke, I would simply buy a new one. “Love” is not the term I would use to describe it’s importance in my life.
But I do use it several times a week. And it does help me live the life I want to live: It helps me cook meals for my family, which is important to me.
Step 8: Put everything away
When you are done with your one task- organize what is left. If you’ve gotten rid of 21 coffee cups, make the coffee cup shelf clean and organized.
Make sure all the extra coffee cups are put in the donation box and take that box right out to your vehicle. Drop it off at the donation center next time you are running errands.
Put all the “put away” stuff away. If none of it has a home, don’t worry about it- set it out of the way for the time being. As you work through your house, room-by-room, you will create space to give each item a home of its own.
Related articles:
- The Success Formula for Decluttering
- Sort the Sentimental Items Last
- Decluttering Through Distractions: How to Maintain Focus
I have a 2 piece china cabinet that was my grandma that I only hold family portraits in, I’ve had it for over 12 yrs it needs to be revarnish. I dn’t want to get rid of it because I think about my grandma when I look at it. Please how can get rid of it and dn’t feel bad.
Well, you said you don’t want to get rid of it. You don’t have to get rid of it! If you enjoy it, keep it! If you don’t like it at all and just want to remember your grandma, think of something else of hers that you would enjoy seeing every day. There is no right or wrong in what you keep and what you don’t- it’s completely up to you. Keep what makes you happy.
Take a nice photo of it and hang it in your wall in a frame.